


- Your cart is empty Browse Shop
Solar Imaging Workflow Guide (Seestar S50 Example)
Solar Imaging Workflow Guide
End-to-end processing workflow using real solar data
Example: Seestar S50
This complete workflow outlines how to process solar .AVI files using free or widely available tools, including: PIPP, AutoStakkert!, ImPPG, GIMP, PixInsight (SolarToolbox), and optional Photoshop adjustments.
1. Pre-processing with PIPP
PIPP (Planetary Imaging PreProcessor) is used to trim your .AVI file and prepare it for stacking.
Step One: Load Your AVI or SER File
Open PIPP and load your raw .AVI or .SER file.

Steps:
- Load your Seestar
.AVIfile - Select Solar/Lunar Full Disk
- Output: TIFF sequence (16-bit)
- Trim frames (optional)
- Click Start Processing
Output: TIFF image sequence
2. Stacking with AutoStakkert!
Step Two: Enable Solar Mode
Tick Solar/Lunar Close Up Processing Mode

Steps:
- Load file into AutoStakkert
- Enable RGB Align
- Click Analyse
- Set AP grid
- Choose stack %
- Click Stack
Output: Stacked TIFF/FITS
3. Post-processing with ImPPG
Step Three: Add Your File

Steps:
- Open stacked image
- Adjust deconvolution
- Apply sharpening
- Adjust tone curve
- Export TIFF
Tip: Remove edge artifacts later
4. Optional Editing with GIMP
- Open TIFF
- Use Colorize
- Crop solar disk
- Adjust curves and contrast
- Export final image
5. Advanced Processing (PixInsight)
SolarToolbox by Mike Cranfield & Bill Blanchan
Steps:
- Install module
- Open SolarToolbox
- Load TIFF
- Adjust colour & contrast
- Export image
6. Photoshop Finishing
- Adjust Levels & Curves
- Feather disk edge
- Colour adjustments
- Cleanup tools
Final Notes
- All tools are free or widely available
- Works with any solar telescope
- Share your results with the community
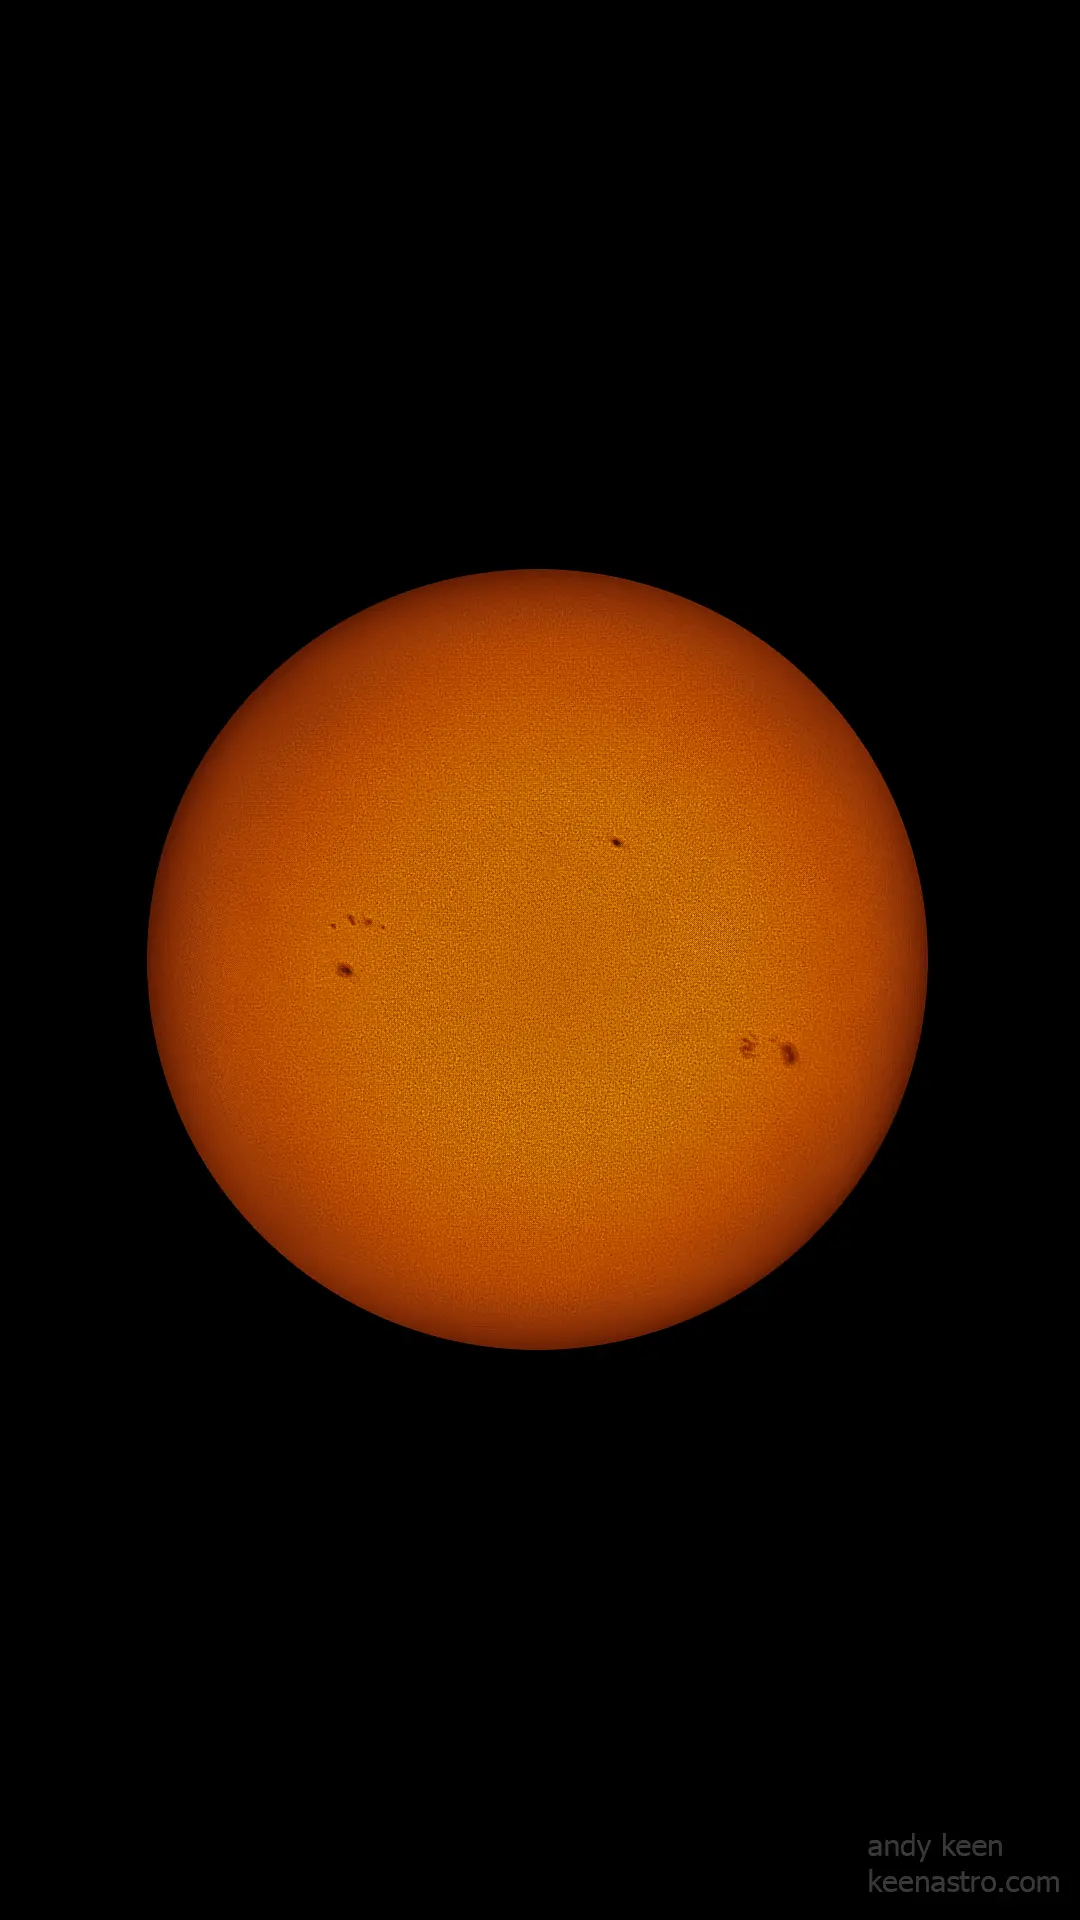
Image of the solar disc captured by Andy Keen using a Seestar S50 smart telescope