


- Your cart is empty Browse Shop
Saving for Success: Exporting Your Astrophotography Images the Right Way
Saving for Success
Exporting your astrophotography the right way
Introduction
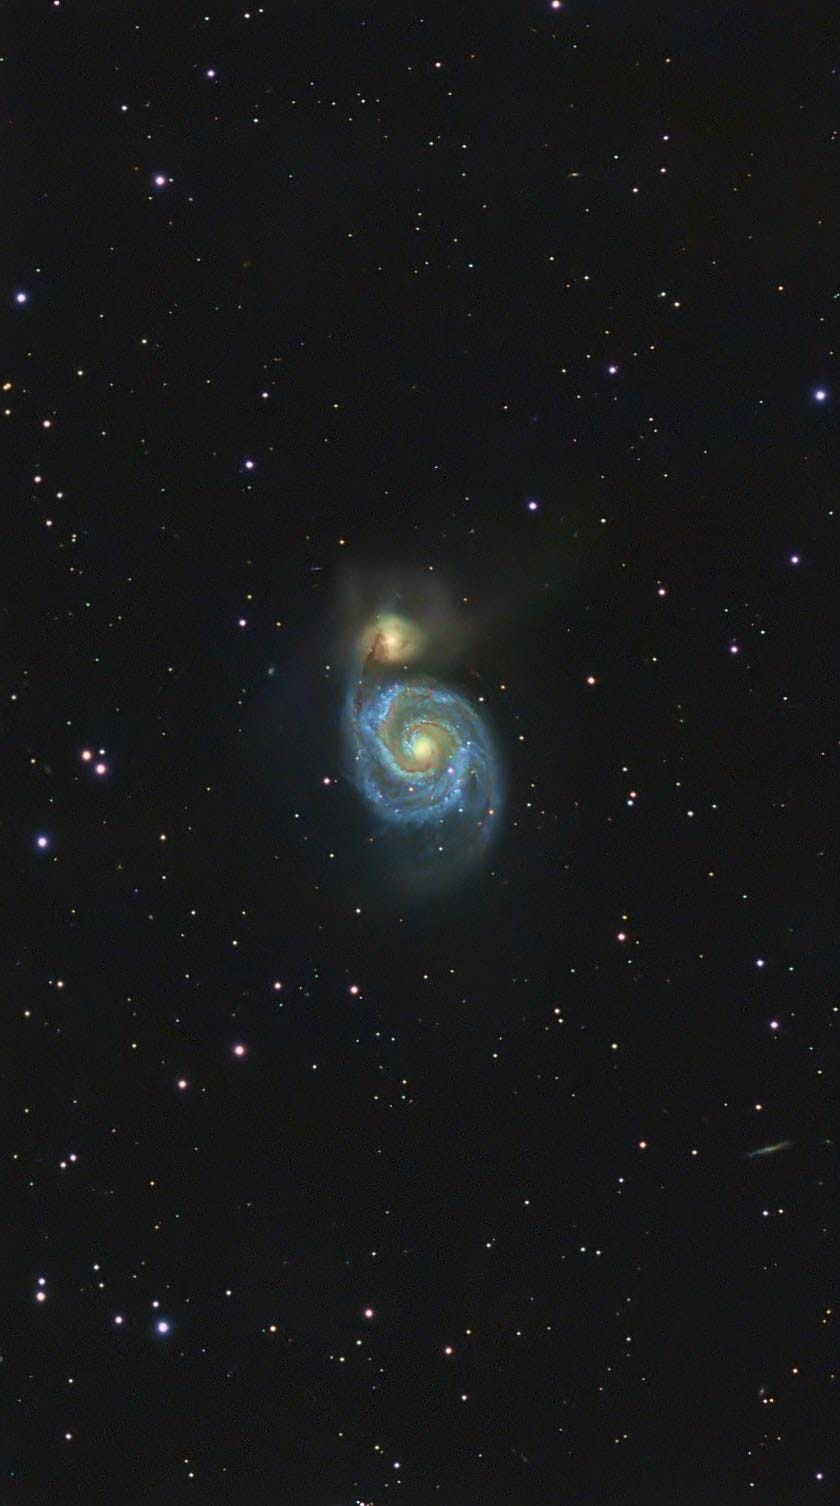
You’ve completed the processing, balanced the colour, teased out the faintest details, and the image is finally where you want it.
The final stage is just as important as everything before it — exporting your work correctly so that what you see on your screen is exactly what others see in print or online.
1️⃣ Save Your Project
Before doing anything else, save your PixInsight project in its native format (.xisf).
This preserves your full process history, masks, previews, and allows you to revisit or refine your work at any time without starting over.
2️⃣ Assign the Right Colour Profile
Colour consistency is critical, especially when moving images between software or preparing for print.
- sRGB: Best for web and general use
- AdobeRGB: Better for high-end printing workflows
- Printer ICC profiles: For professional print pipelines
- Open AssignICCProfile
- Set profile to sRGB (recommended default)
- Rendering intent: Perceptual
- Enable black point compensation
🖼️ AssignICCProfile settings panel
3️⃣ Prepare for Print
- Go to Process → Resample
- Set resolution to 300 dpi
- Enable Force Resolution
This does not change pixel dimensions — it simply tells printers how to interpret the file for optimal quality.
🖼️ Resample settings
4️⃣ Choose the Right File Format
- XISF: Master file
- 16-bit TIFF: Best for print
- JPEG (100%): Web sharing
- PNG: Alternative format
🖼️ TIFF vs JPEG comparison
5️⃣ Maintain Colour Accuracy
🖼️ Monitor calibration example
6️⃣ Quick Export Checklist
- Save
.xisf - Assign ICC profile
- Set 300 dpi
- Export TIFF + JPEG
- Check output
🎬 Conclusion
Getting export right ensures your work looks exactly as intended across all platforms.
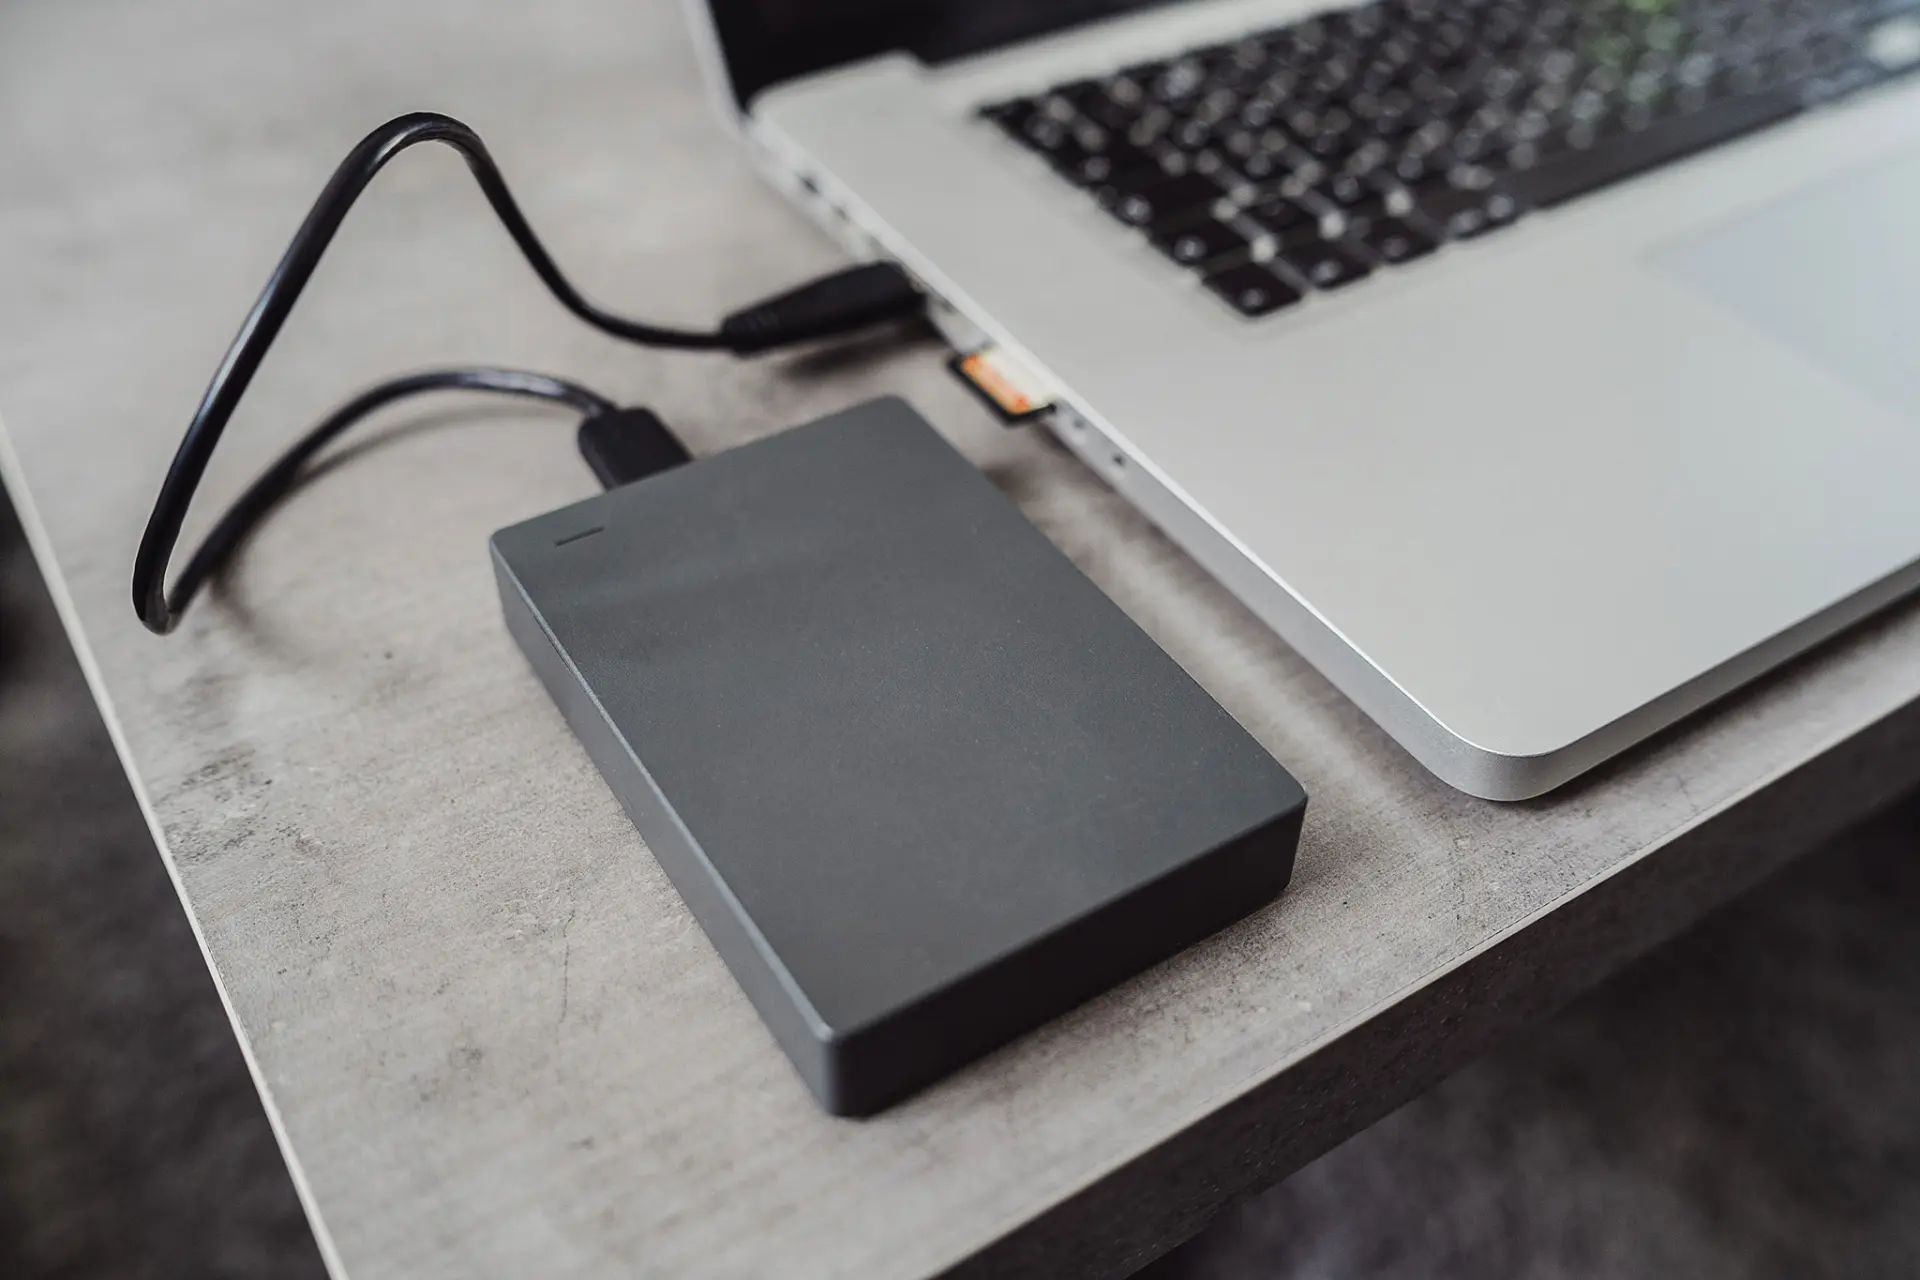
Storage and file management play a critical role in preserving high-quality astrophotography data