


- Your cart is empty Browse Shop
Getting Started with PixInsight: Installation & Essential Setup
Getting Started with PixInsight
Complete setup guide for astrophotography workflows
Introduction
(Cosmic Voyager Exclusive)
PixInsight is a powerful, modular image processing platform built specifically for astrophotography and technical imaging.
Unlike one-click editors, it provides full control over calibration, stacking, and processing.
This guide covers everything you need to set it up correctly so you can hit the ground running.
⭐ Step 1: Download & Install PixInsight
📅 As of July 2025, PixInsight offers a free 45-day trial.
- Download installer for your OS
- Install and launch PixInsight
- Activate trial or enter license key
🖼️ PixInsight trial page
💎 Step 2: Install RC-Astro Plugins
Add the RC-Astro suite for professional results:
- BlurXTerminator: Restore fine detail
- NoiseXTerminator: AI noise reduction
- StarXTerminator: Star removal/separation
Installation & Activation
- Purchase from RC-Astro
- Download and install
- Open plugin in PixInsight
- Click spanner icon
- Enter email + activation code
🖼️ Plugin activation panel
💡 All plugins offer free trials.
🌠 Step 3: Install GraXpert
GraXpert is an AI-powered gradient removal tool.
- Download from GraXpert.org
- Install PixInsight module
- Restart PixInsight
🖼️ GraXpert interface
⭐ Step 4: Link Star Databases
Required for SPCC colour calibration.
Recommended Databases
- GAIA DR3: Deep sky
- APASS DR9: Wide field
Installation
- Open Gaia process
- Download GAIA + APASS
- Link via Manage Directories
🖼️ Gaia panel screenshot
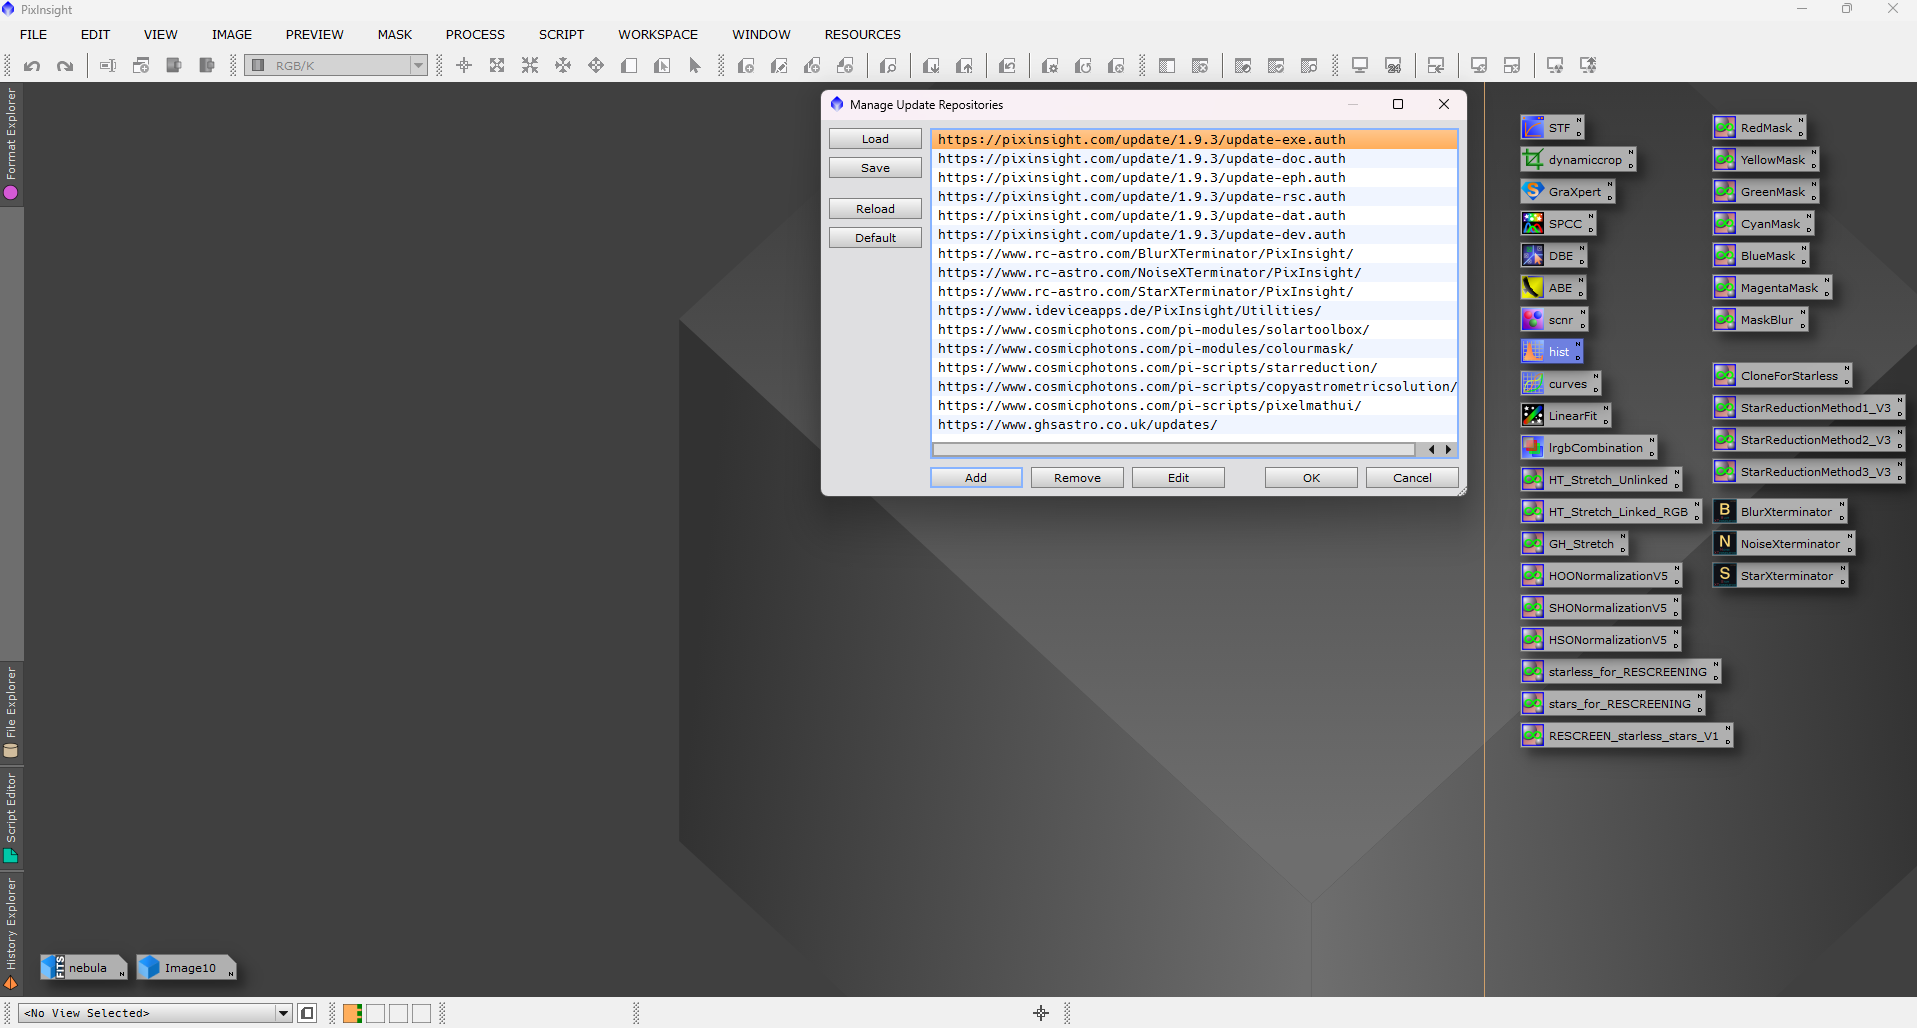
✅ Step 5: Update Repositories
- Go to Manage Repositories
- Add official sources
- Check for updates
🖼️ Repository manager
🎯 You’re Now Ready
With PixInsight installed, plugins activated, GraXpert running, and star databases linked, you now have a complete professional toolkit.
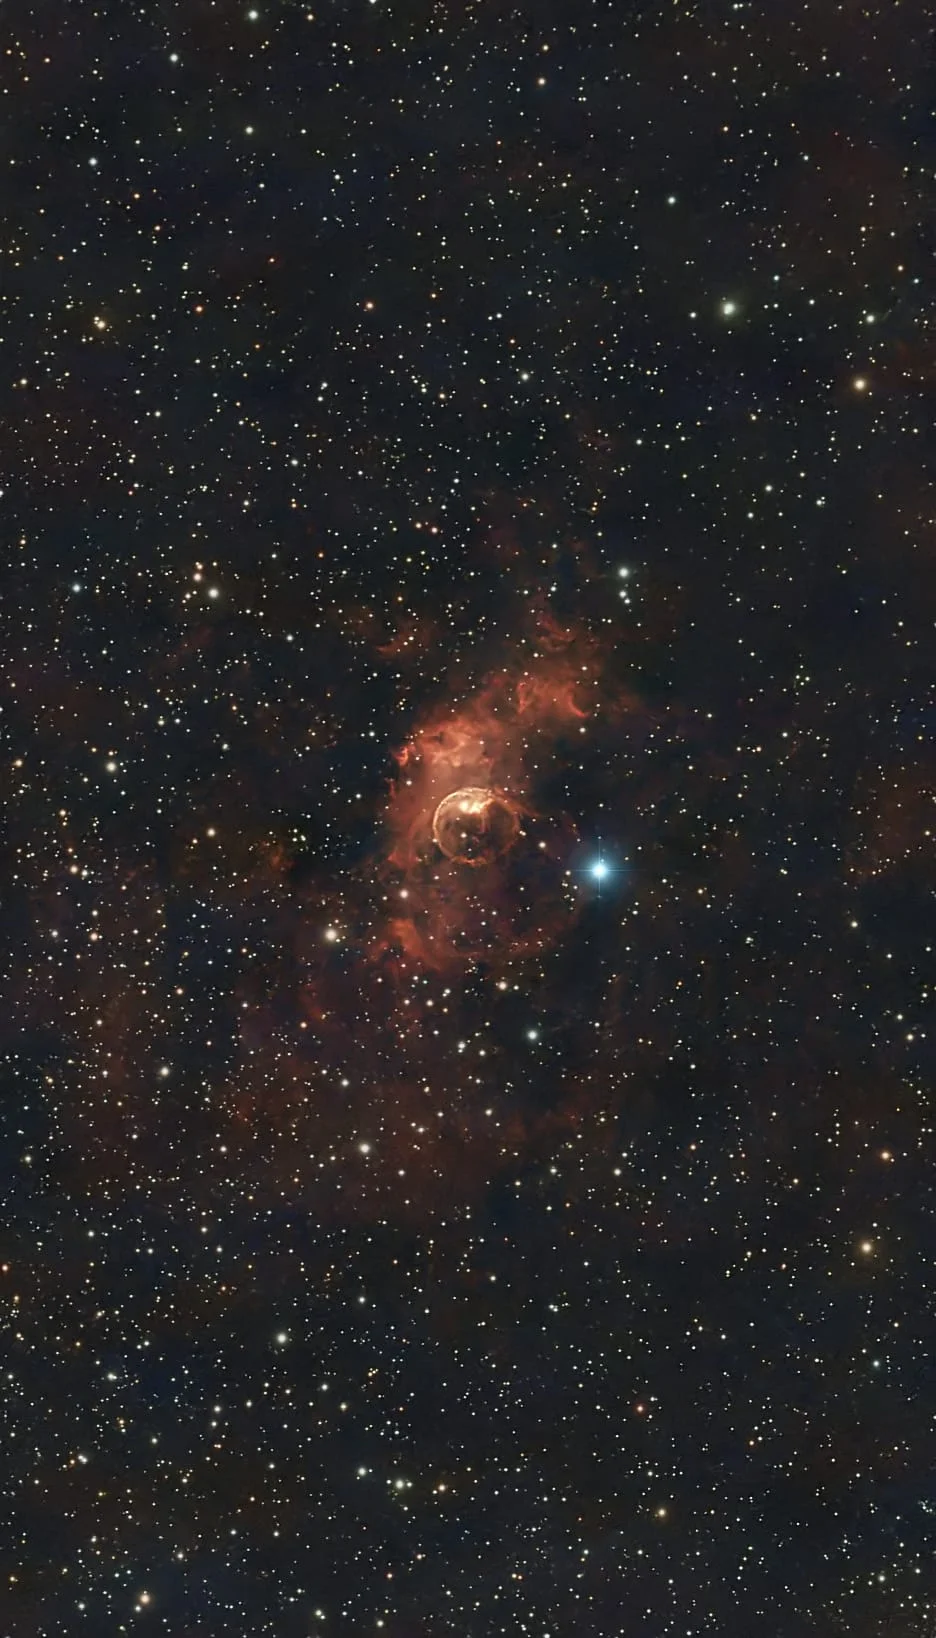
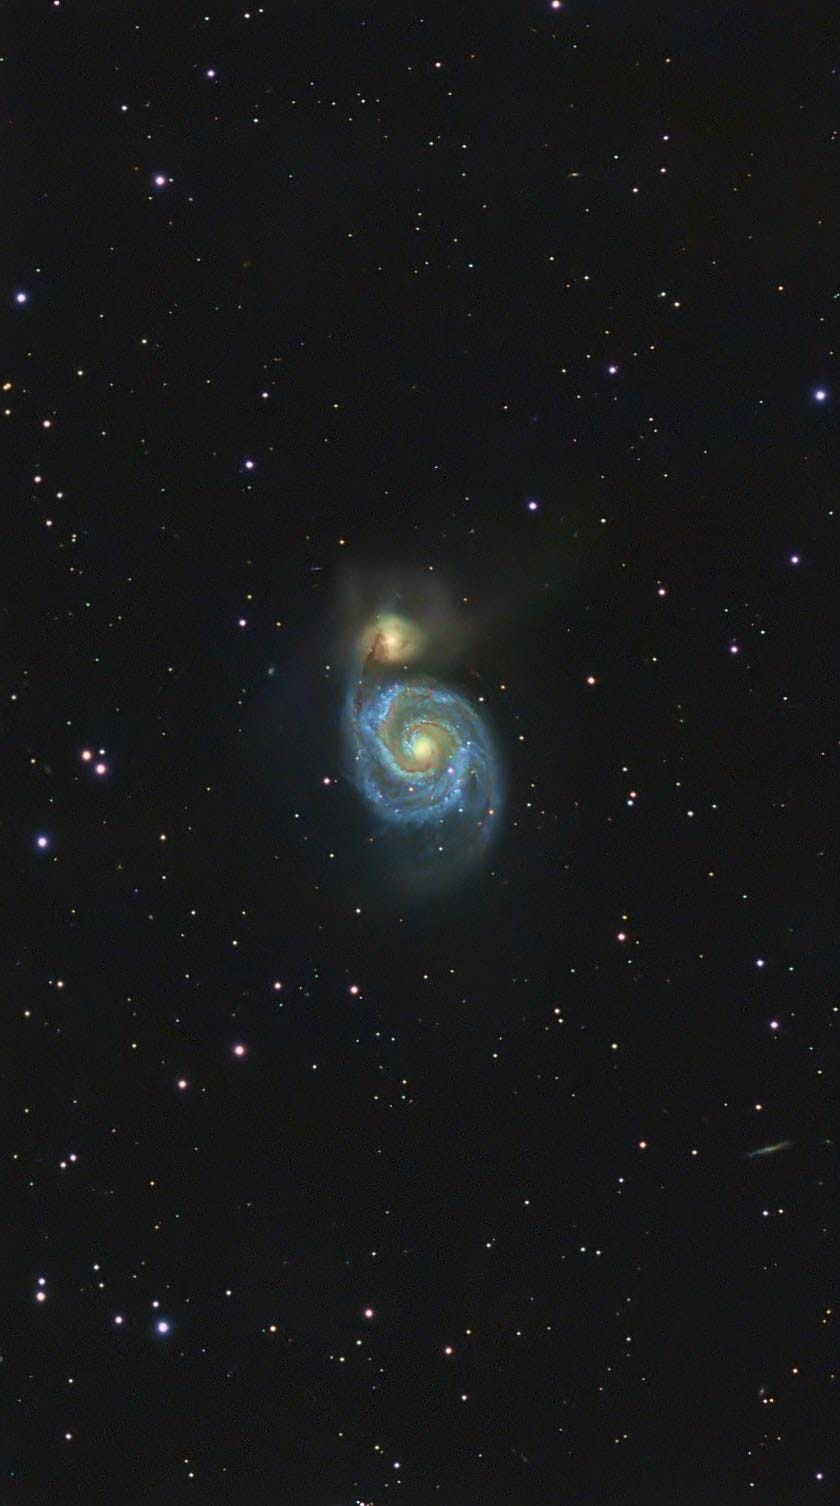
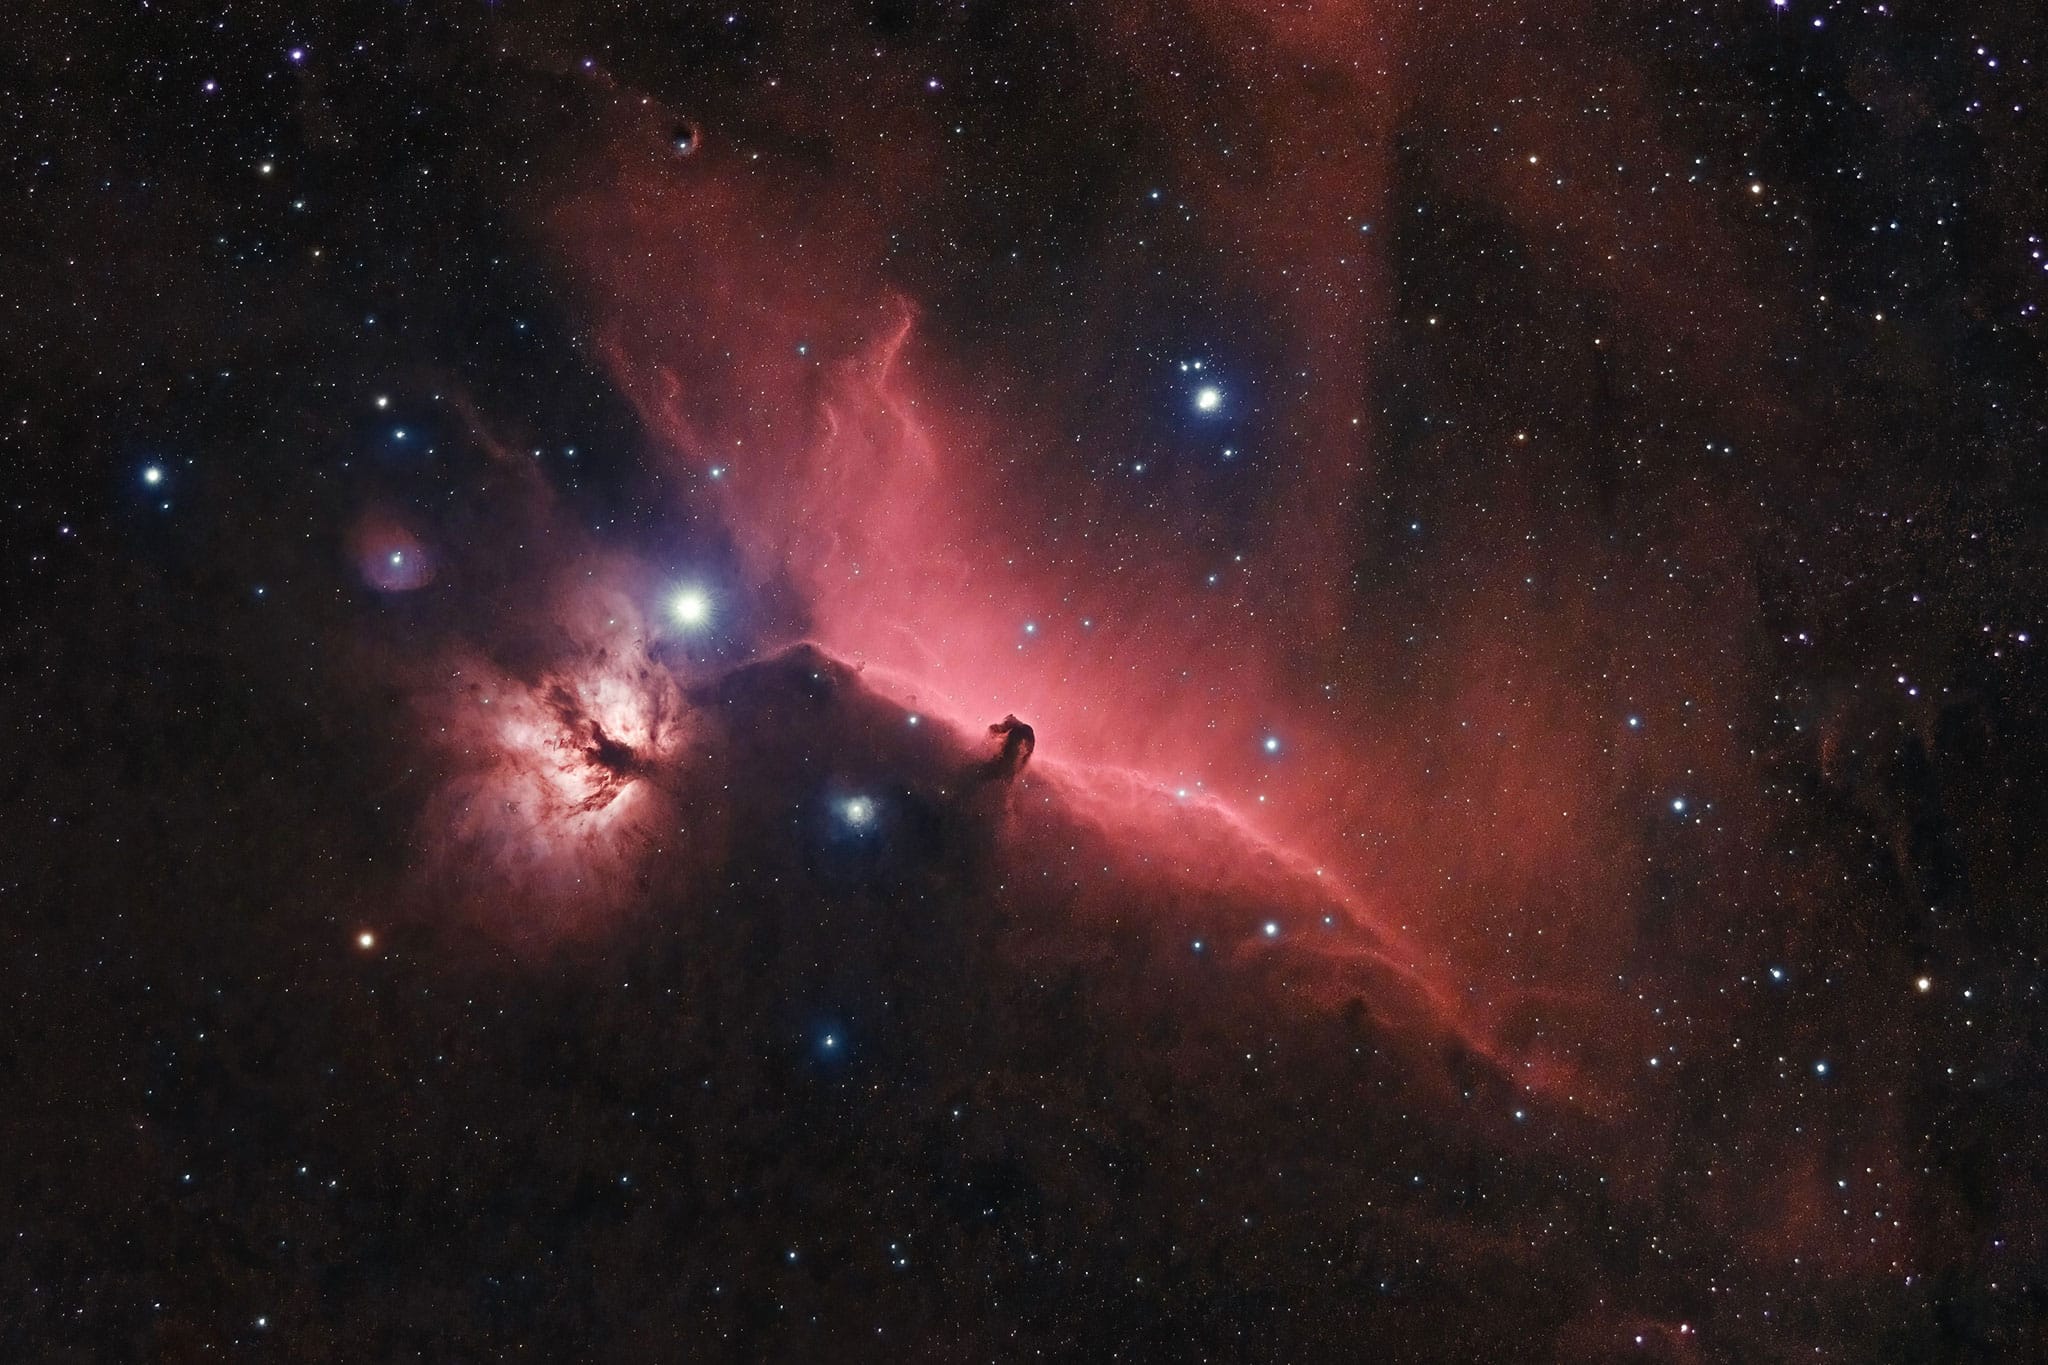
You’re ready to begin the Bubble Nebula 10-Step Workflow.
🖼️ Before / After example
PixInsight setup workflow including plugins, star databases, and calibration tools