


- Your cart is empty Browse Shop
Colour Alchemy in PixInsight
SPCC, Masks & Colour Processing
The art of balancing scientific accuracy with visual impact
Introduction
With your cleaned and noise-controlled master light ready, you are entering one of the most rewarding stages of the workflow: bringing out the true colours of the cosmos.
This is where science meets artistry. The goal is to calibrate colours accurately, separate stars if needed, and use masks and curves to craft a balanced, vivid image.
At this stage, your image should already be stretched to non-linear space.
💡 Save your project now. Work incrementally and duplicate key stages.
1️⃣ Image Solving
Before colour calibration, the image must be plate-solved.
- Script → Astrometry → ImageSolver
- Enter RA/DEC or use auto query
- Run solver and confirm success
📷 ImageSolver screenshot
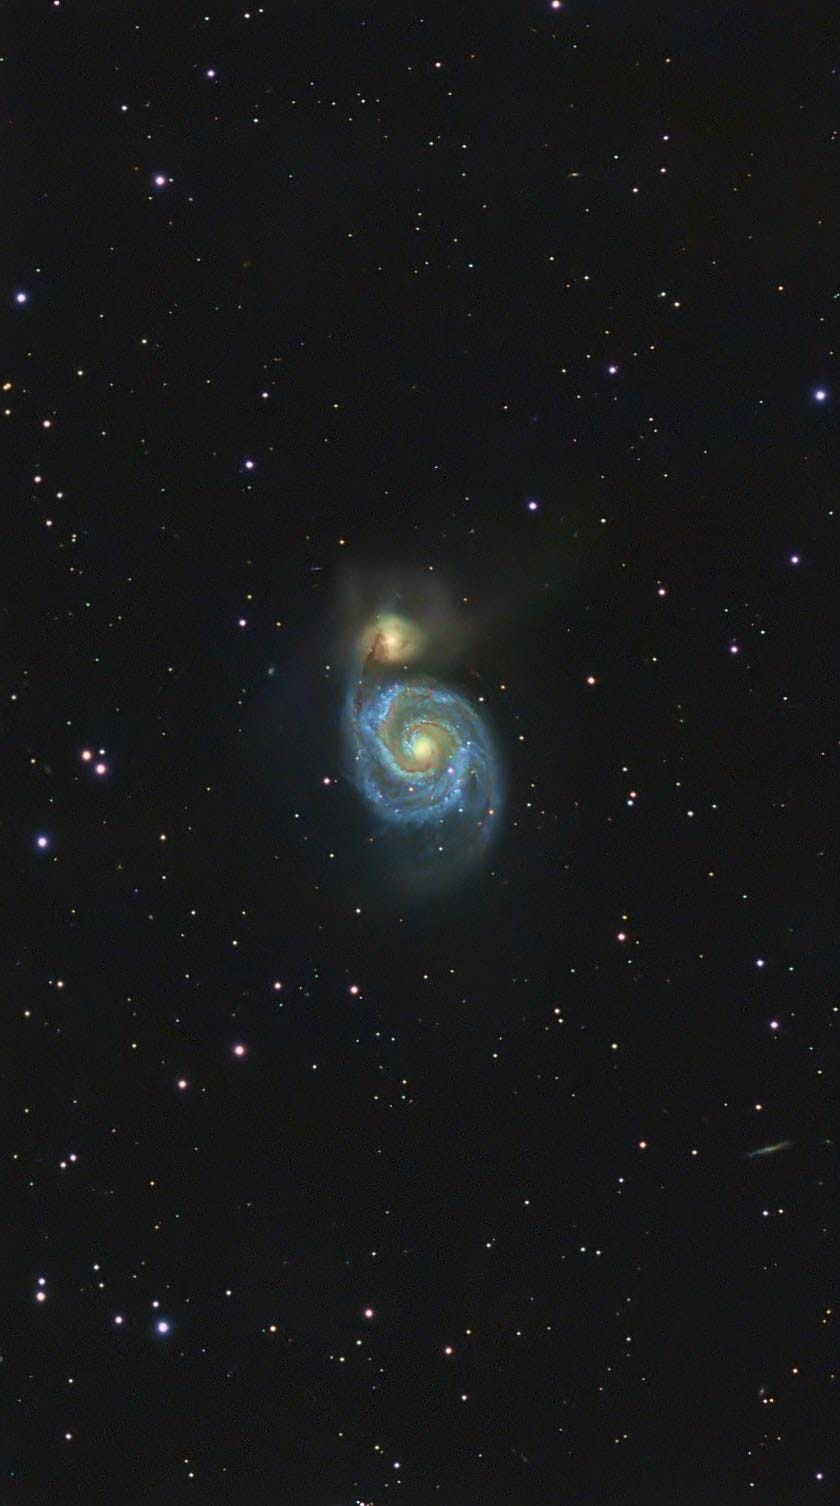
2️⃣ SPCC – Colour Calibration
Process → ColorCalibration → SPCC
- White Reference: Default
- Background: Neutral preview
- Structure Detection: Default
- Run SPCC
📷 SPCC before / after
3️⃣ Star Separation
Process → StarXterminator
- Create starless + stars layers
- Process independently
💡 Allows stronger nebula processing without damaging stars.
📷 StarXterminator interface
4️⃣ Range Masks
Process → MaskGeneration → RangeSelection
- Isolate nebula or background
- Apply mask (red overlay)
- Invert if needed
- Remove after use
📷 Range mask example
💡 Use with curves and LHE for controlled edits.
5️⃣ CurvesTransformation
Your main colour control tool.
🔴 🟢 🔵 RGB
- Balance emission colours
- Enhance OIII / H-alpha regions
🌈 RGB/K
- Global contrast (S-curve)
🌓 Lightness
- Enhance structure without colour shift
🟨🟦 Lab
- Correct colour casts
🎨 Saturation
- Boost nebula carefully
🟪 Hue
- Fine-tune tones
📷 CurvesTransformation interface
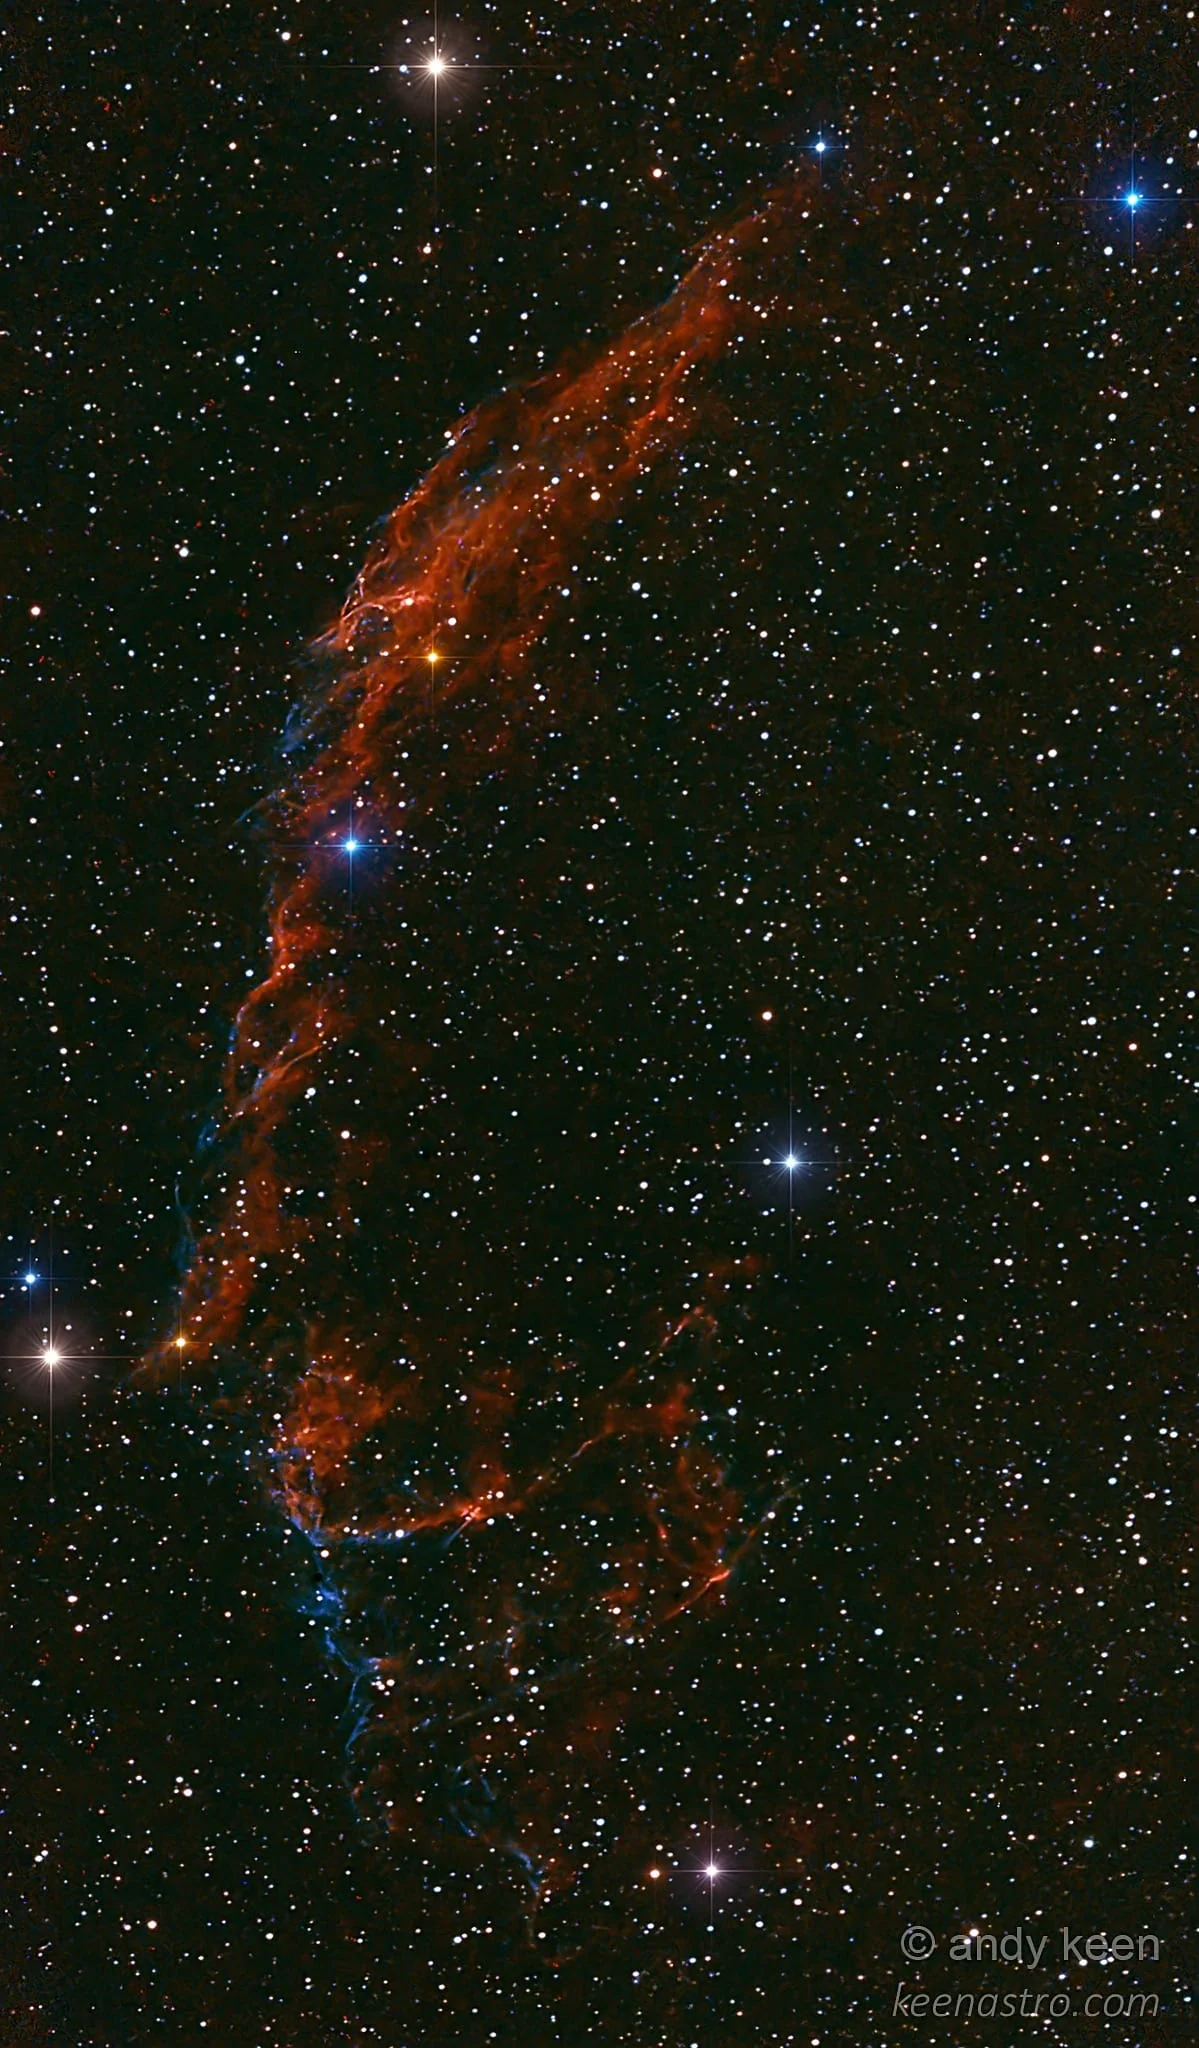
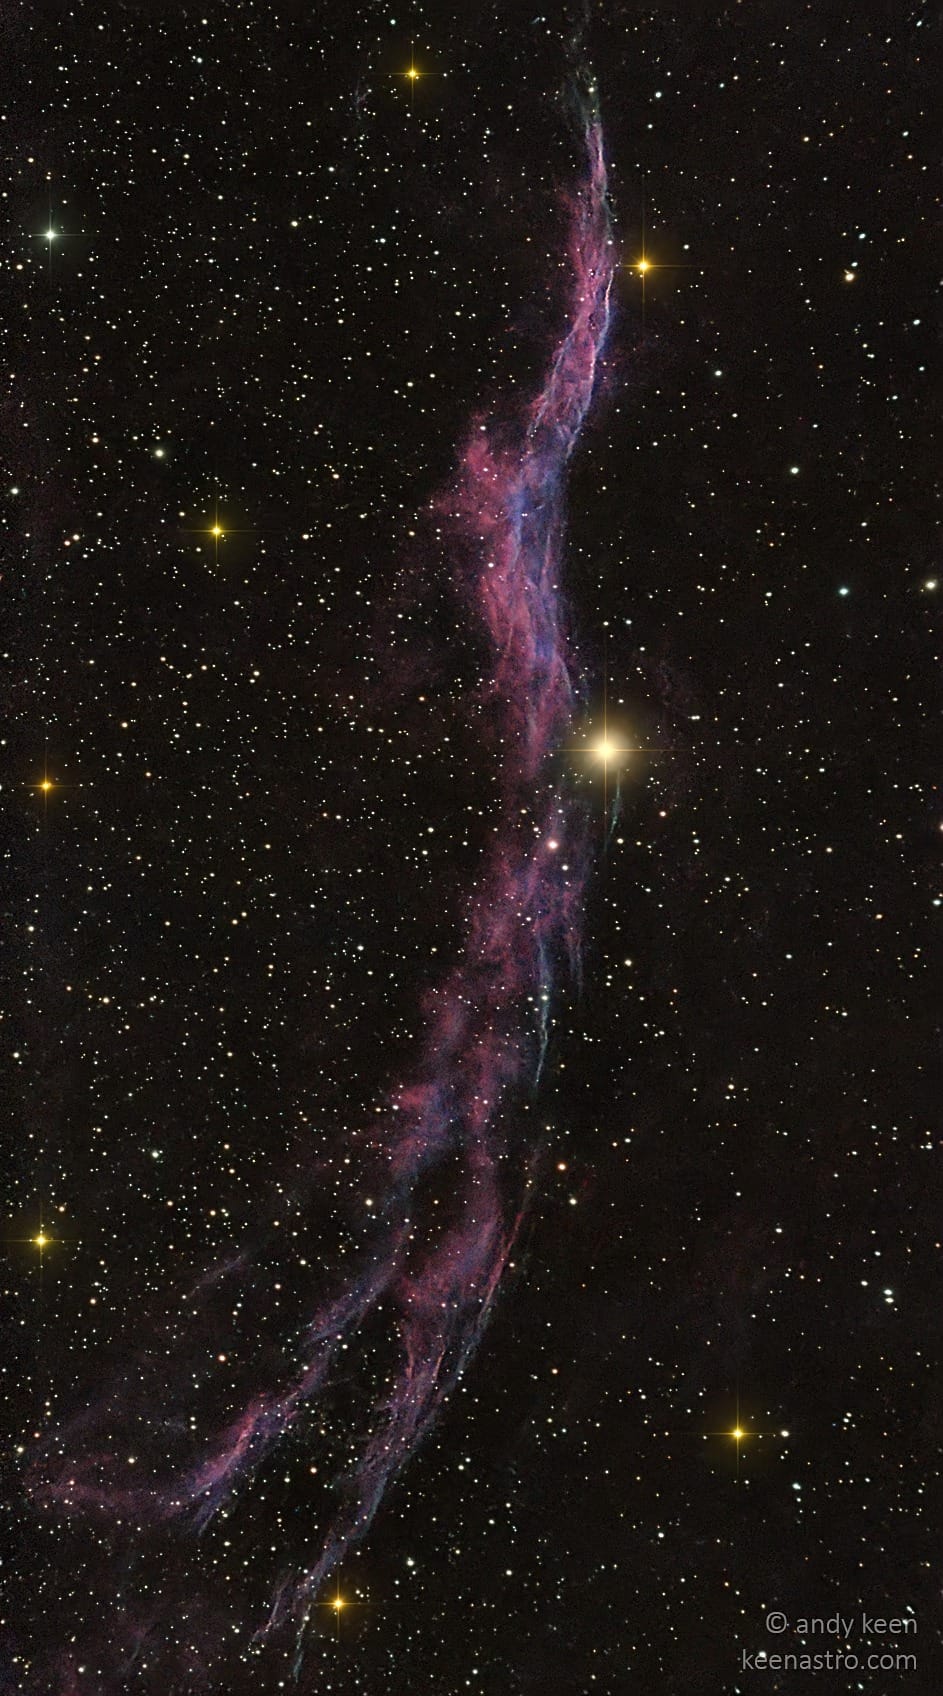
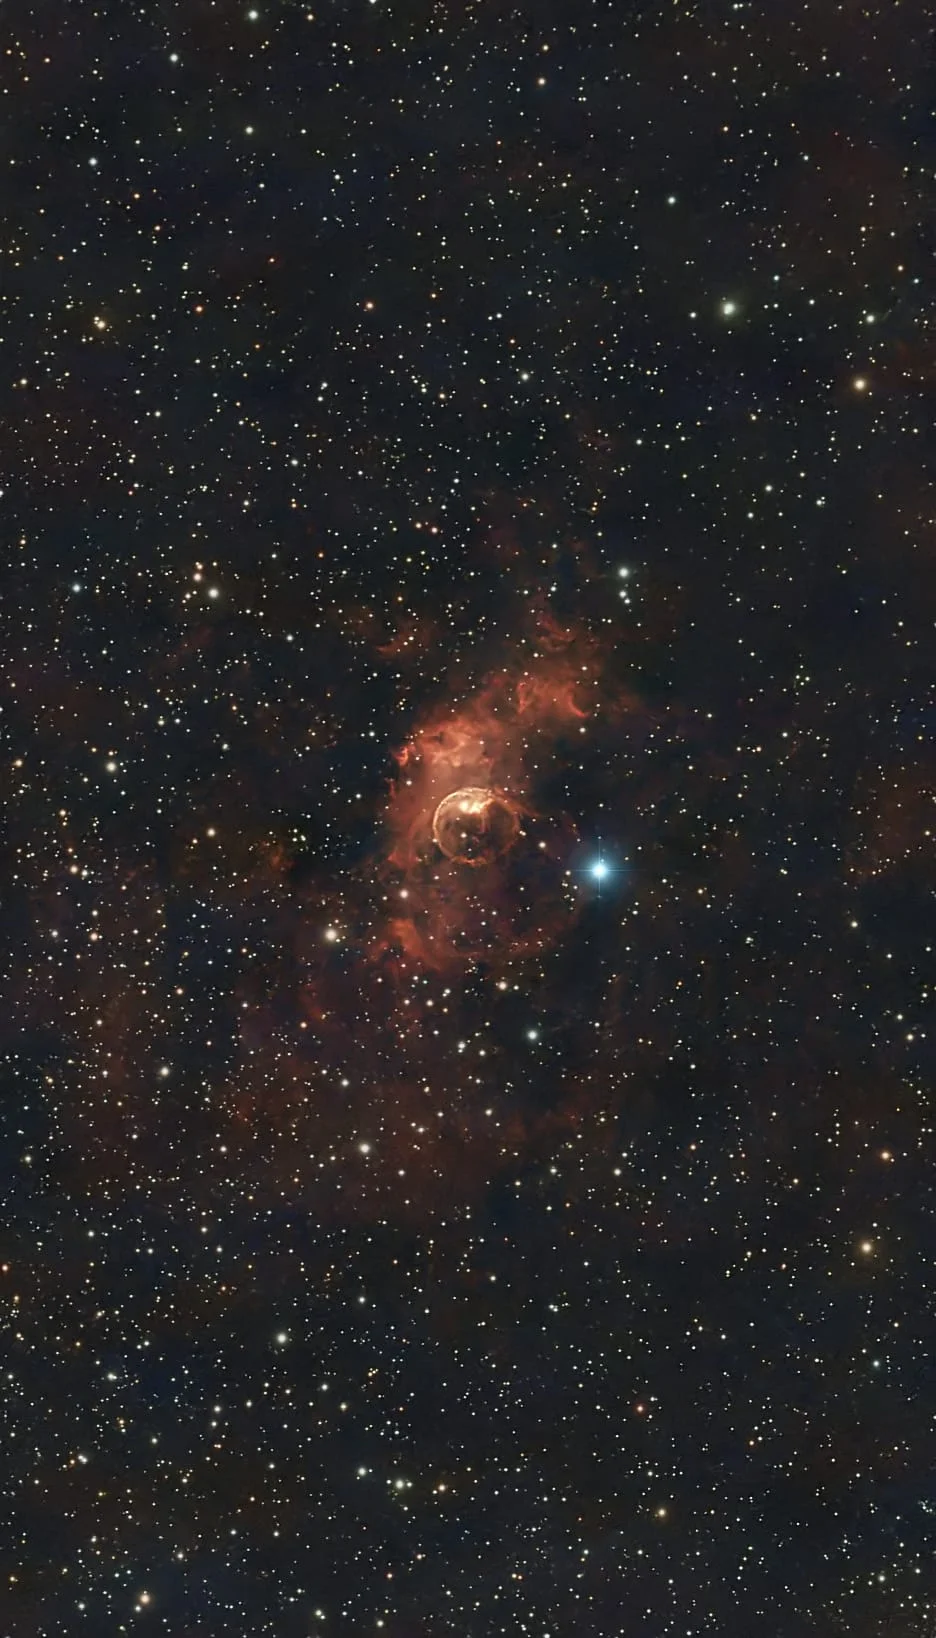
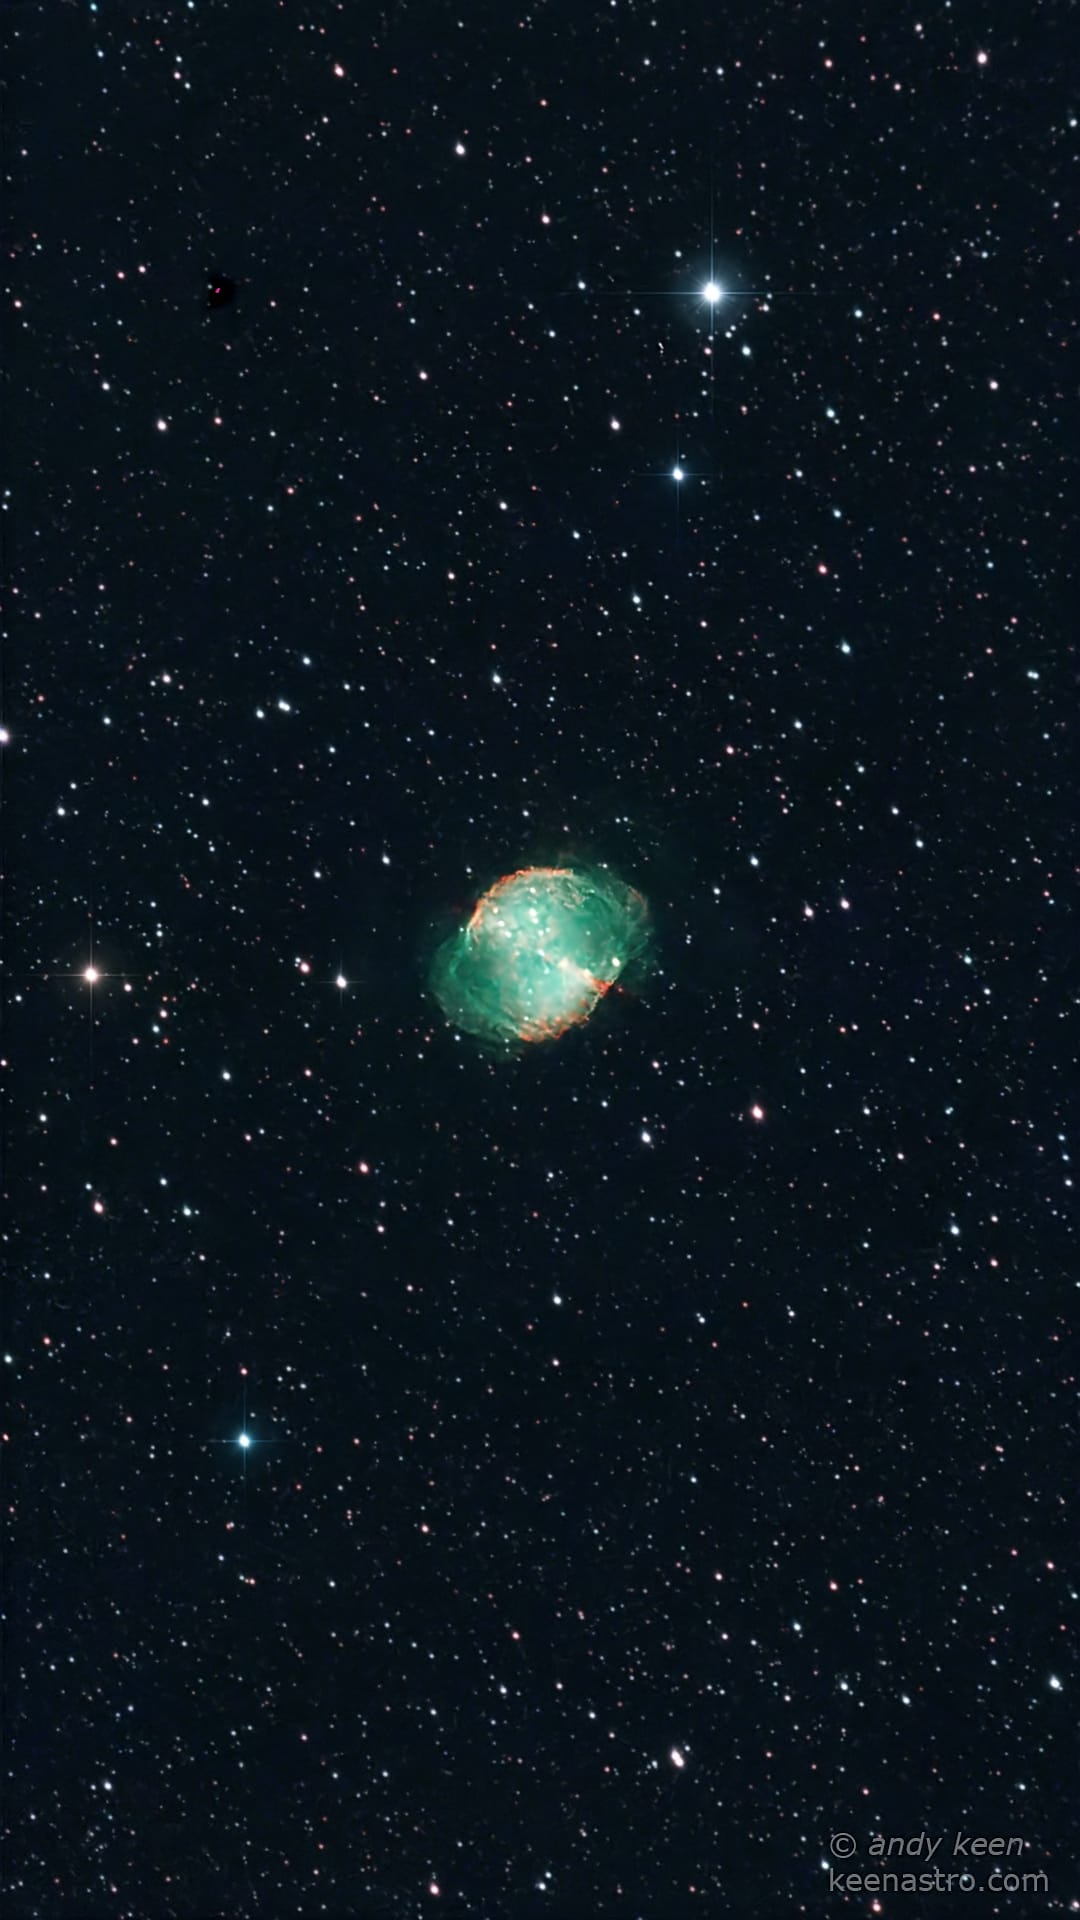
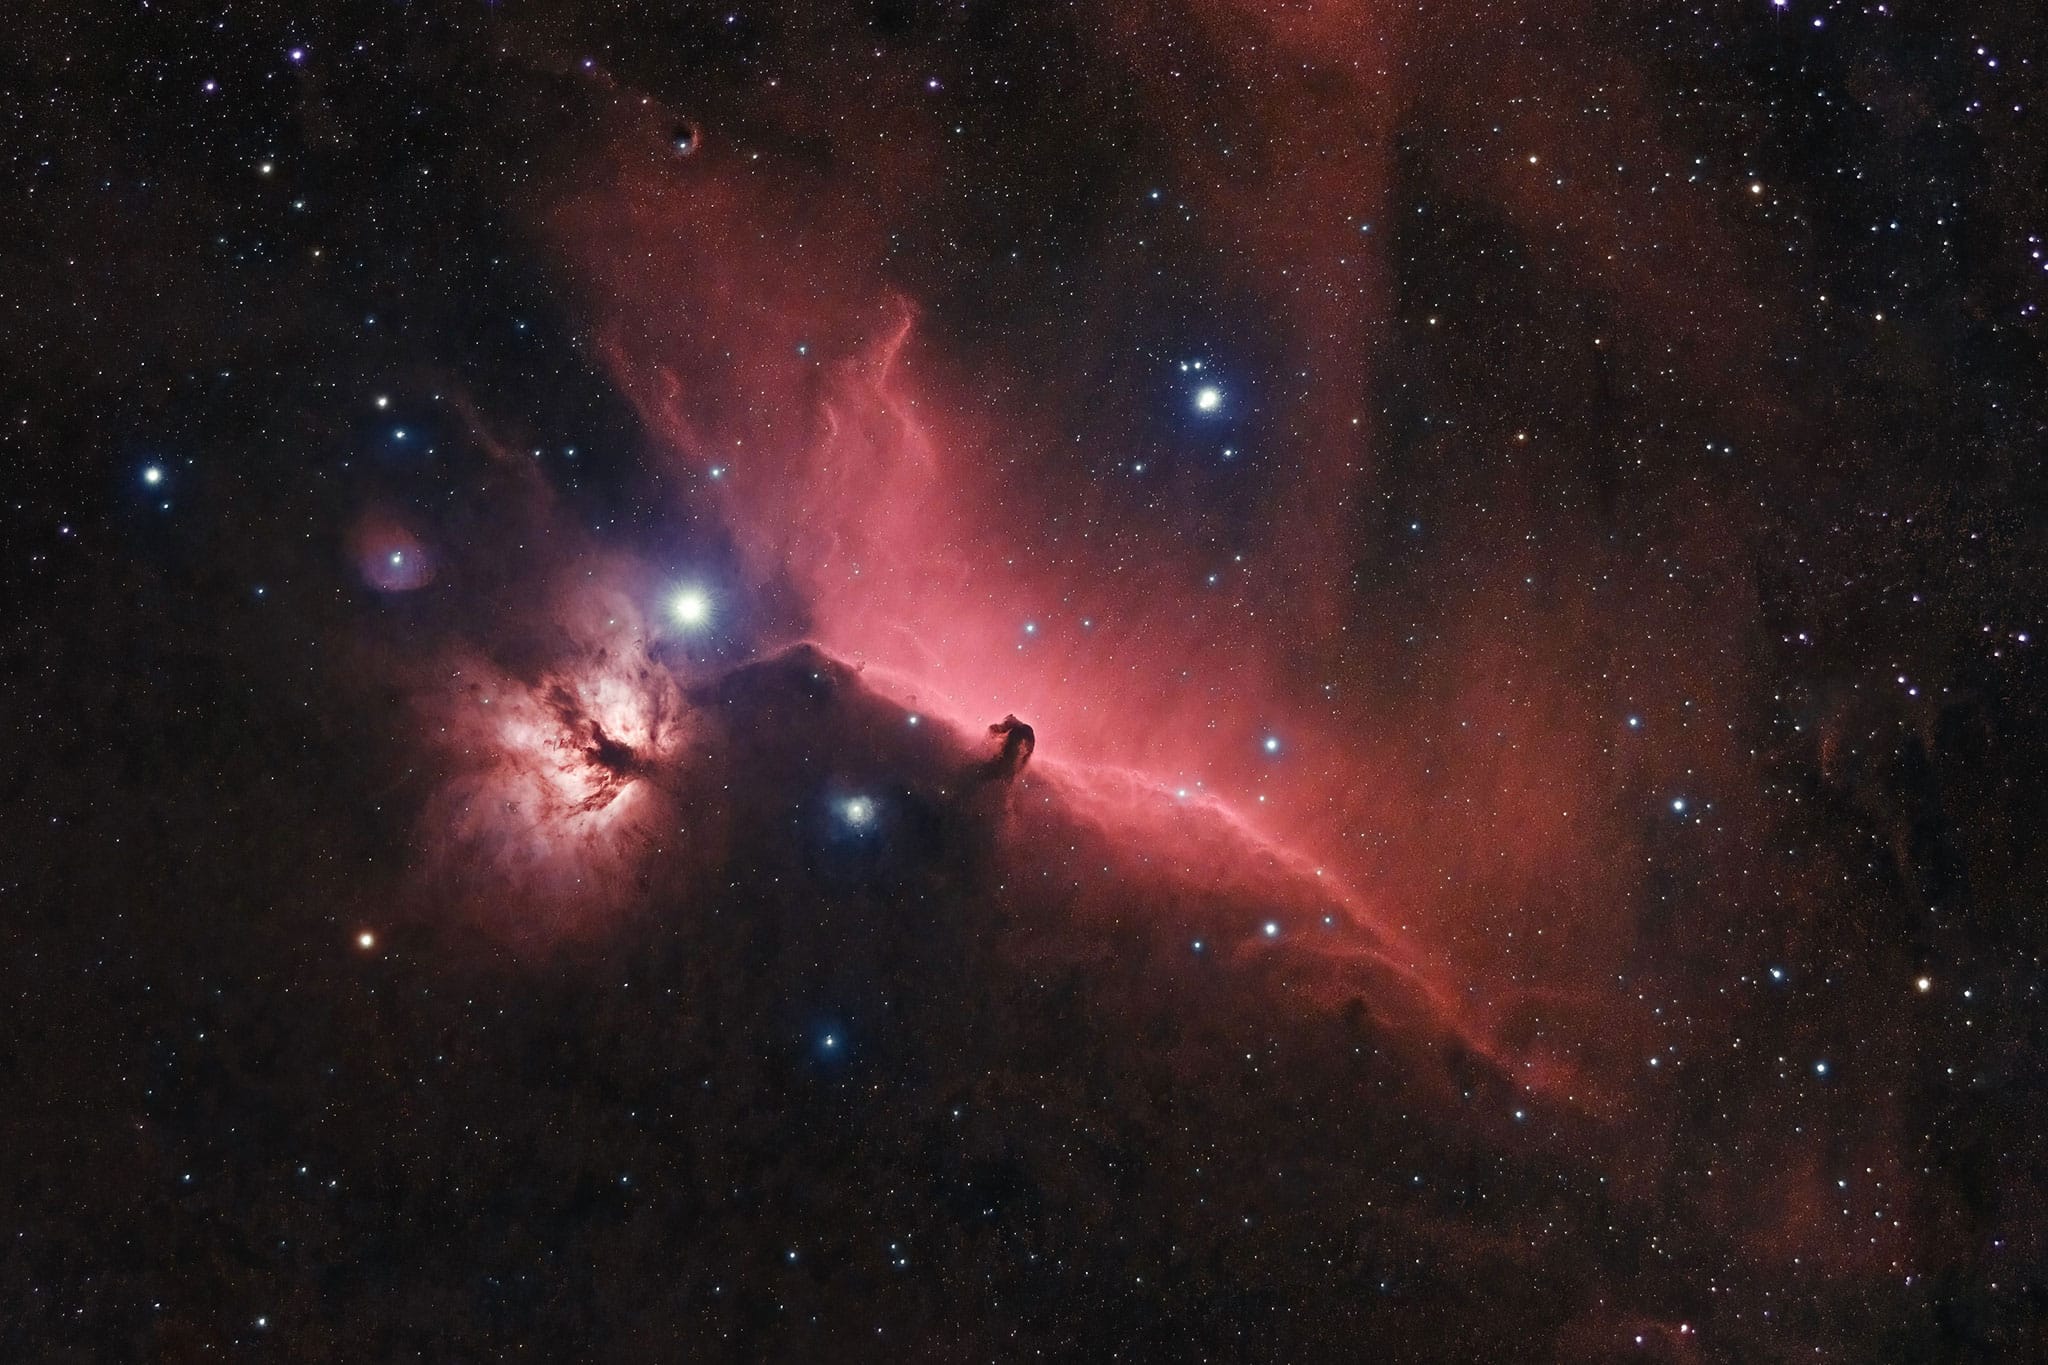
🌌 Gas & Colour Reference
- H-alpha: Red
- OIII: Cyan/teal
- SII: Deep red
- Blue stars: Hot
- Yellow/orange stars: Cooler
💡 Art vs Science: Use reference images but feel free to interpret creatively.
6️⃣ LocalHistogramEqualization
Process → LHE
- Coarse: Radius 150–200, Contrast ~1.5
- Fine: Radius 50–64, Contrast ~1.3
- Apply via mask or starless image
📷 LHE before/after
7️⃣ Recombining Stars
Process → PixelMath
starless + stars- Adjust star brightness if needed
💡 Balance layers to avoid flat results.
✅ Quick Checklist
- Save project stages
- Run ImageSolver
- Apply SPCC
- Separate stars
- Use masks
- Apply curves
- Run LHE (2-pass)
- Recombine layers
- Export final image
Colour calibration and processing workflow balancing scientific accuracy with visual impact