


- Your cart is empty Browse Shop
Preparing Your Data for PixInsight
Preparing Your Data for PixInsight
Build a clean foundation for better astrophotography results
Introduction
Getting the most from PixInsight starts before you even launch the software. Proper organisation and well-prepared calibration data set the foundation for a smooth workflow and better results.
This guide focuses on structuring your data, preparing calibration frames, and getting everything ready for processing.
Why Preparation Matters
Astrophotography sessions generate large numbers of files. Without organisation, it’s easy to misplace data or mismatch calibration frames.
A consistent workflow saves time and prevents errors later.
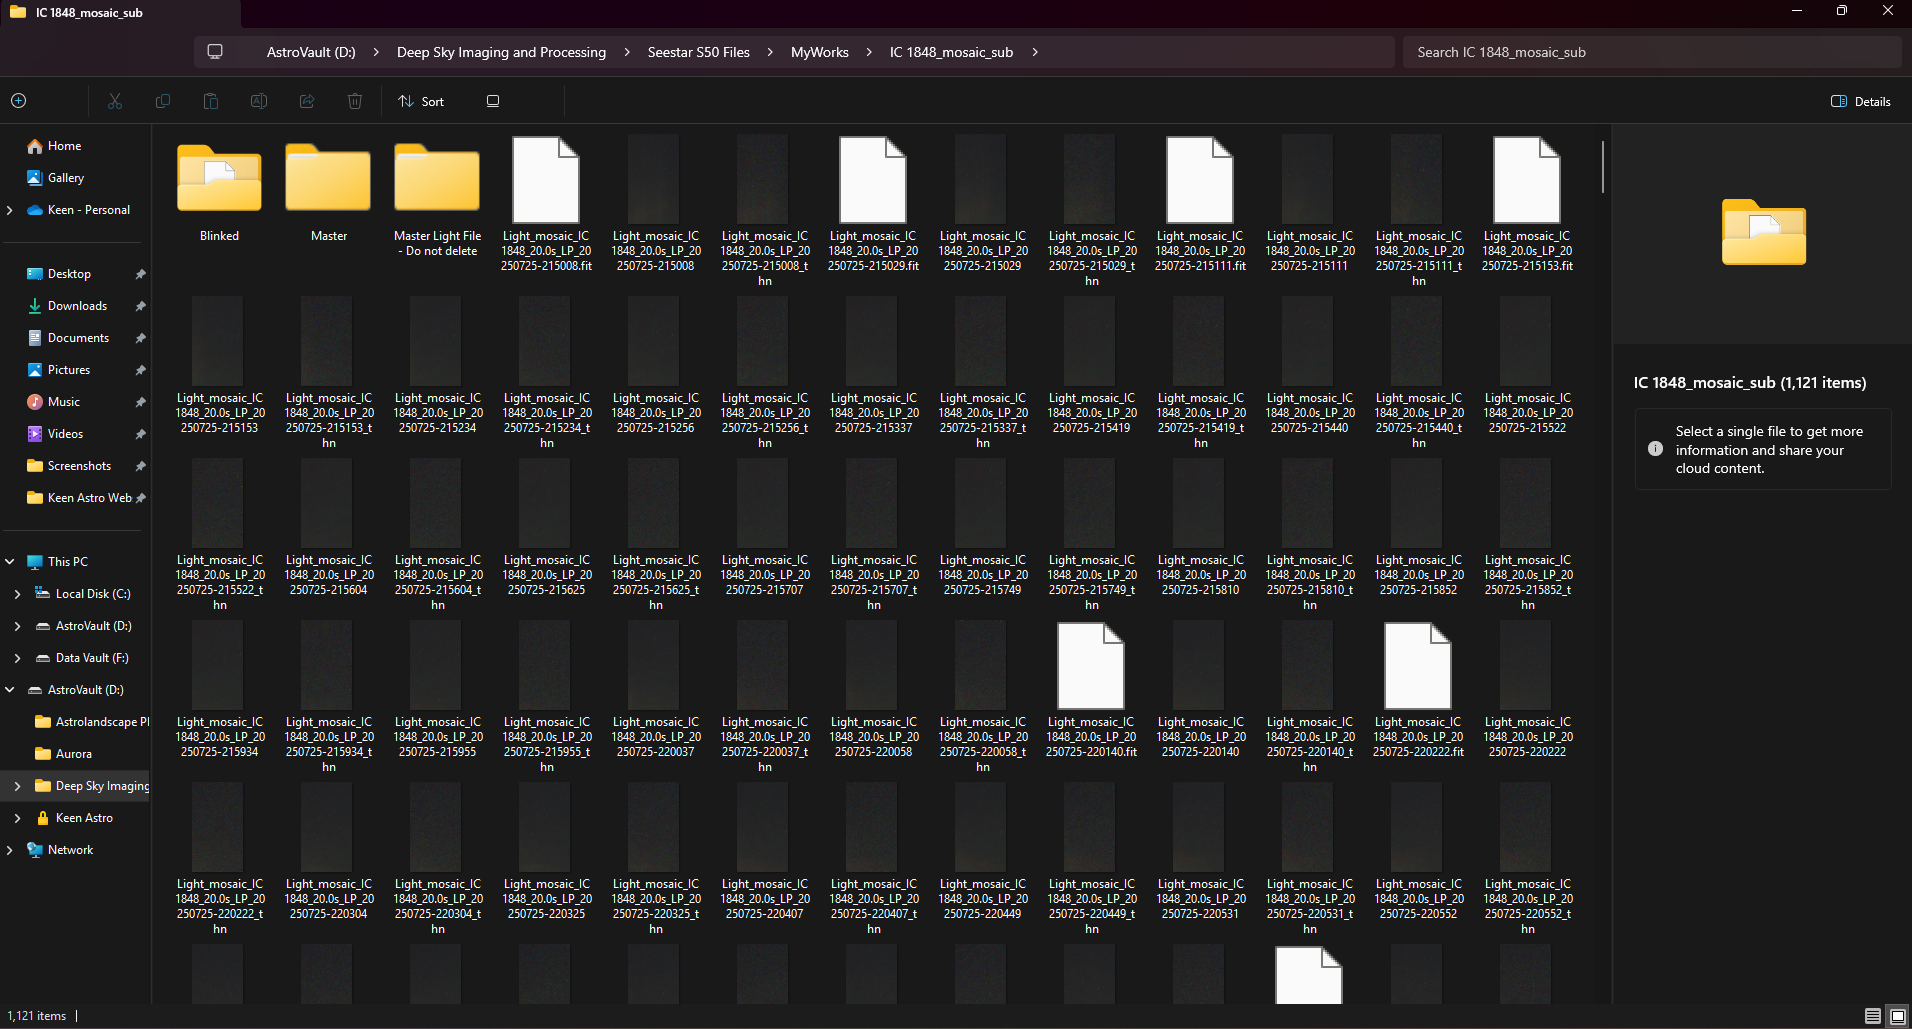
Organising Your Data
Use a dedicated folder for each target and date. Inside, create subfolders for each frame type:
Target_Name_Date/
├── Lights/
├── Darks/
├── Flats/
├── Bias (or Dark Flats)
└── Masters/
├── Lights/
├── Darks/
├── Flats/
├── Bias (or Dark Flats)
└── Masters/
Use consistent file naming:
Light_001.CR2Dark_001.CR2Flat_001.CR2
Consistency makes processing and revisiting data much easier.
📷 Folder structure example
Preparing Calibration Frames
- Darks: Remove thermal noise and hot pixels
- Flats: Correct vignetting and dust
- Bias: Capture read noise
- Dark Flats: Used instead of bias for flats
Keep calibration frames organised and clearly labelled for each session.
📷 Raw vs calibrated comparison
Backups and Archiving
Always keep raw data untouched. Store master calibration files in a dedicated folder.
A simple backup system ensures your work is safe and can be reprocessed later.
Summary of Preparation Steps
| Step | Why it matters |
|---|---|
| Clear folder structure | Easy navigation |
| Consistent naming | Prevents confusion |
| Good calibration frames | Essential for clean data |
| Keep backups | Future reprocessing |
Next Steps
Once your data is organised and calibrated, you can move on to evaluation and stacking.
Next: screening subframes, stacking workflows, and image processing.
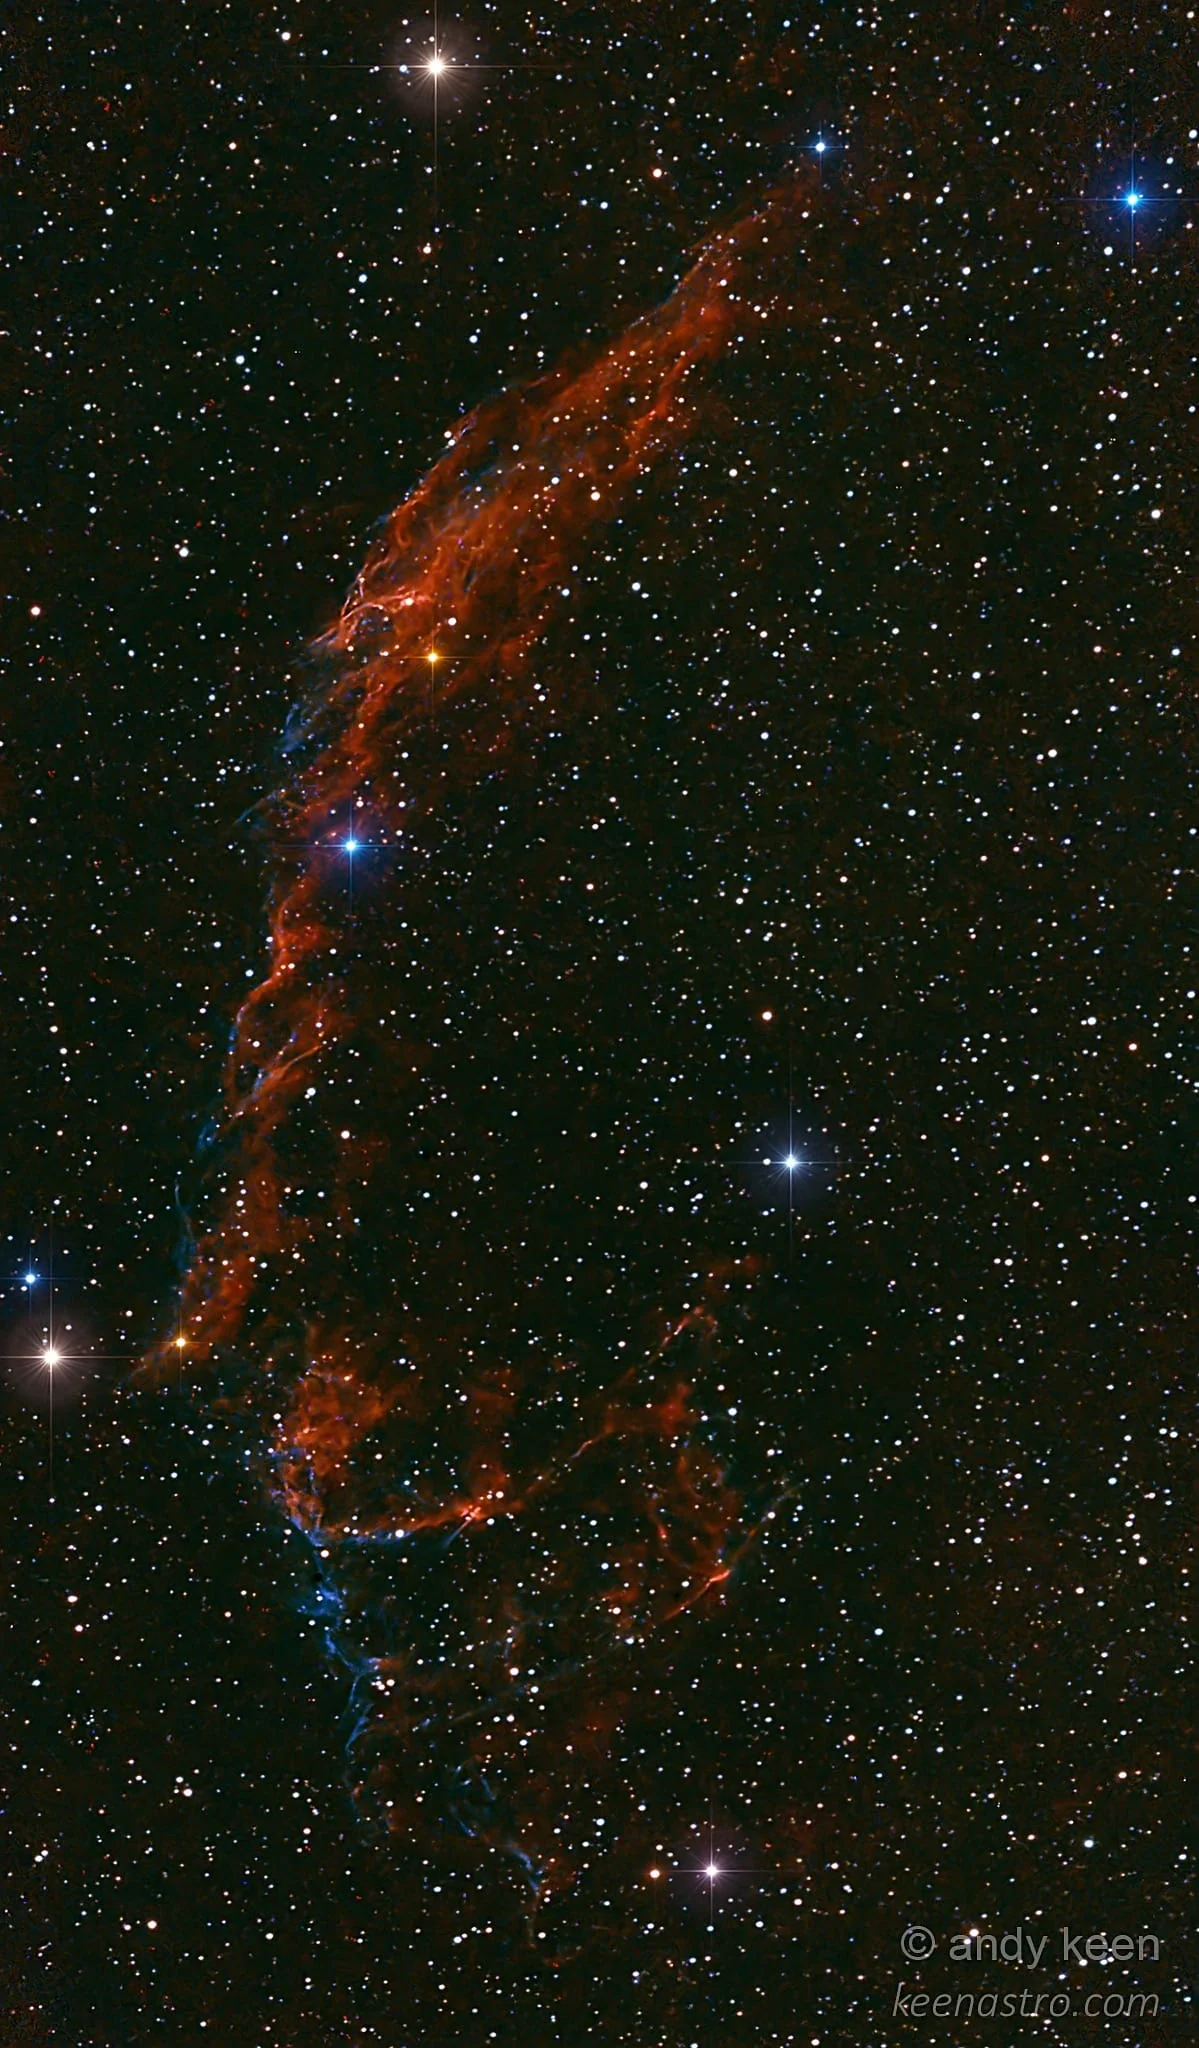
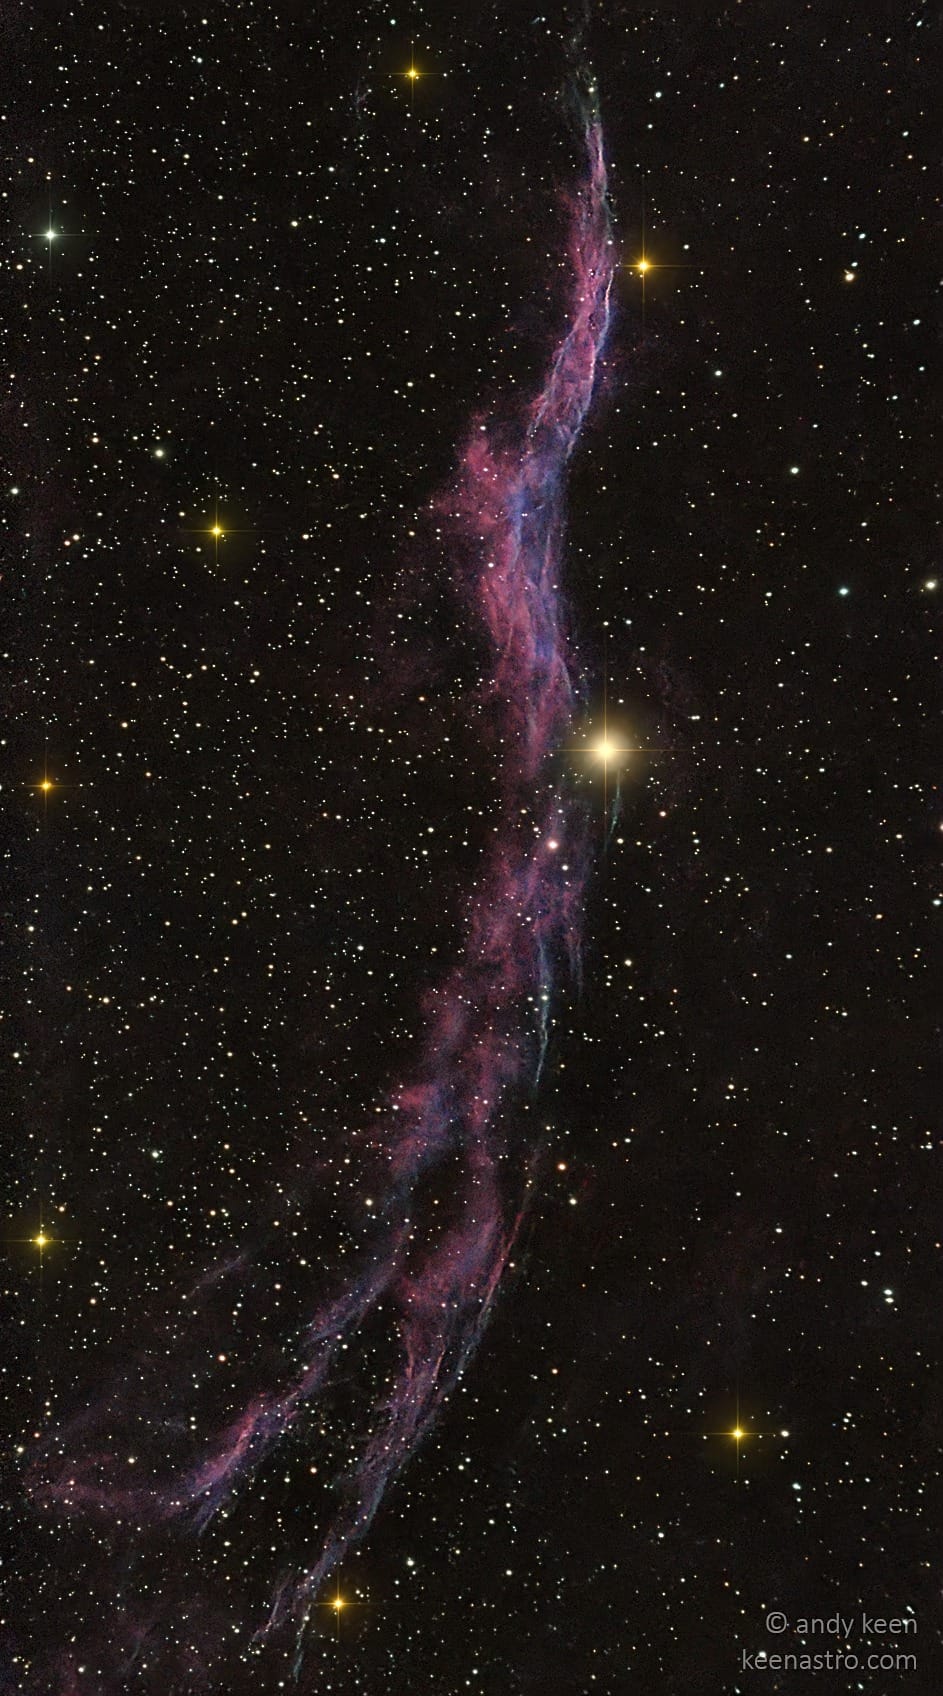
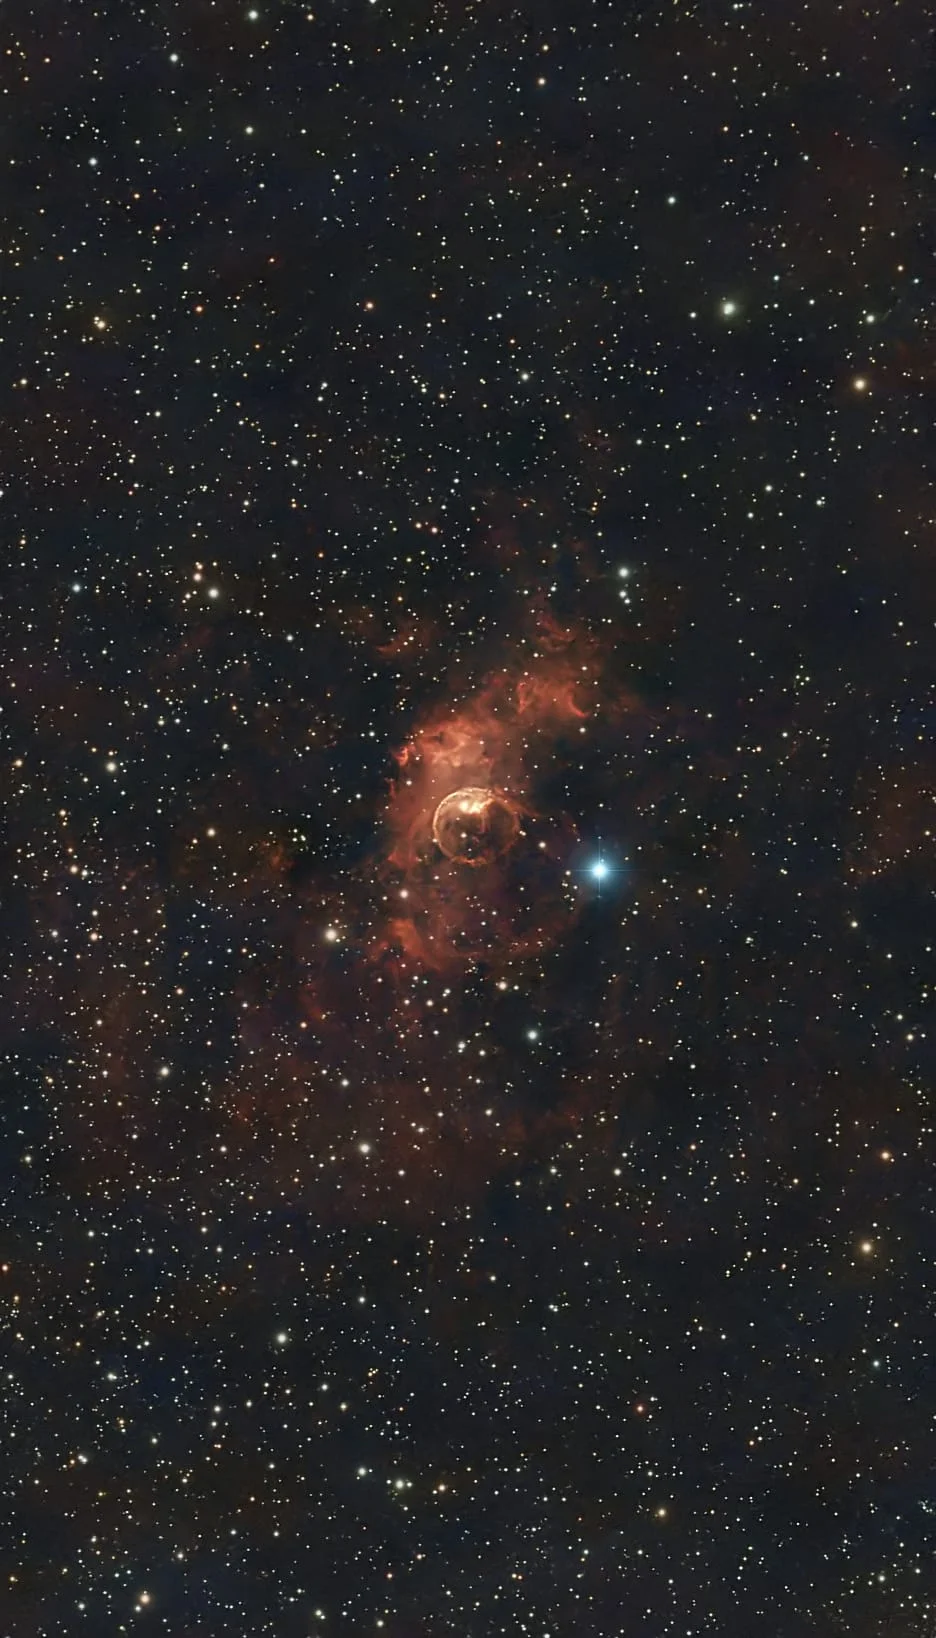
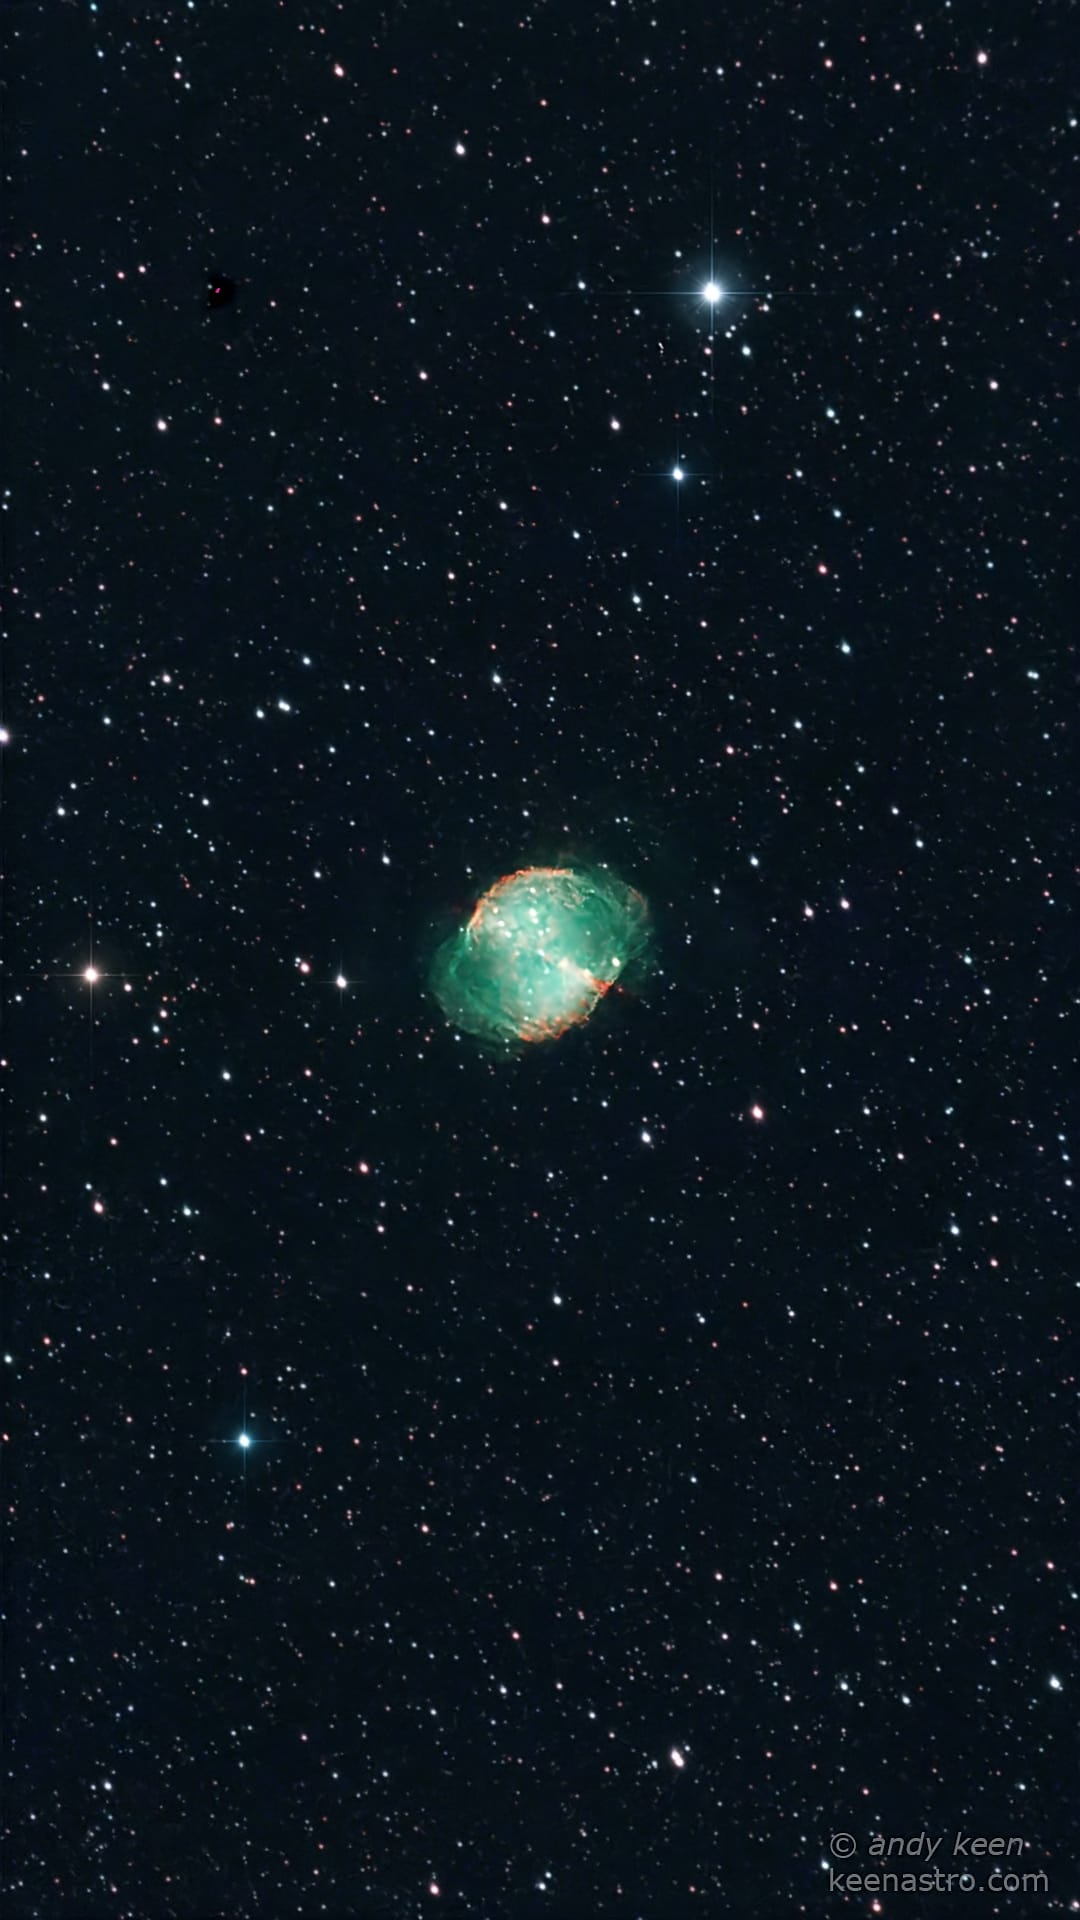
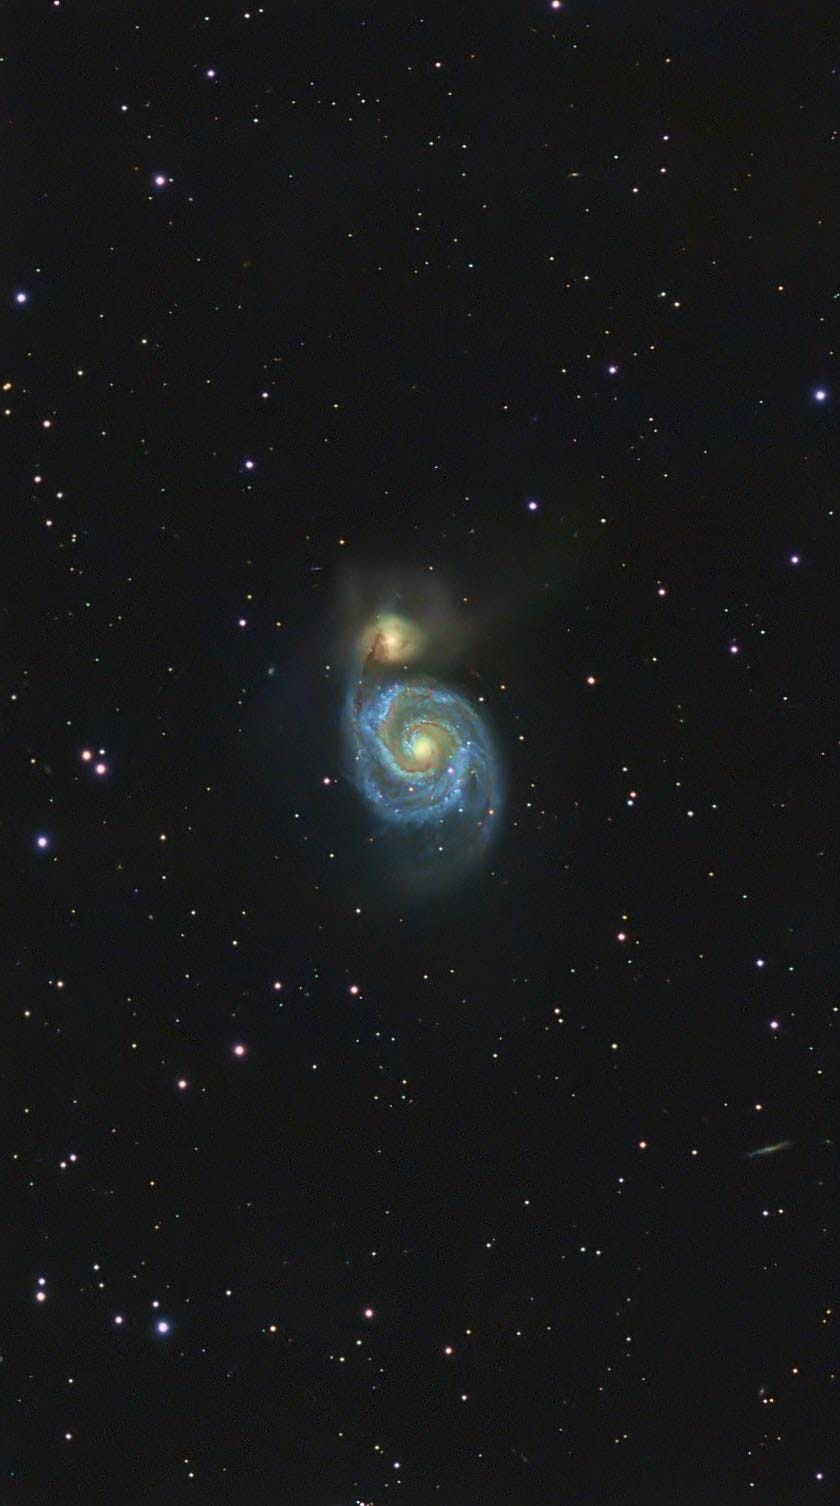
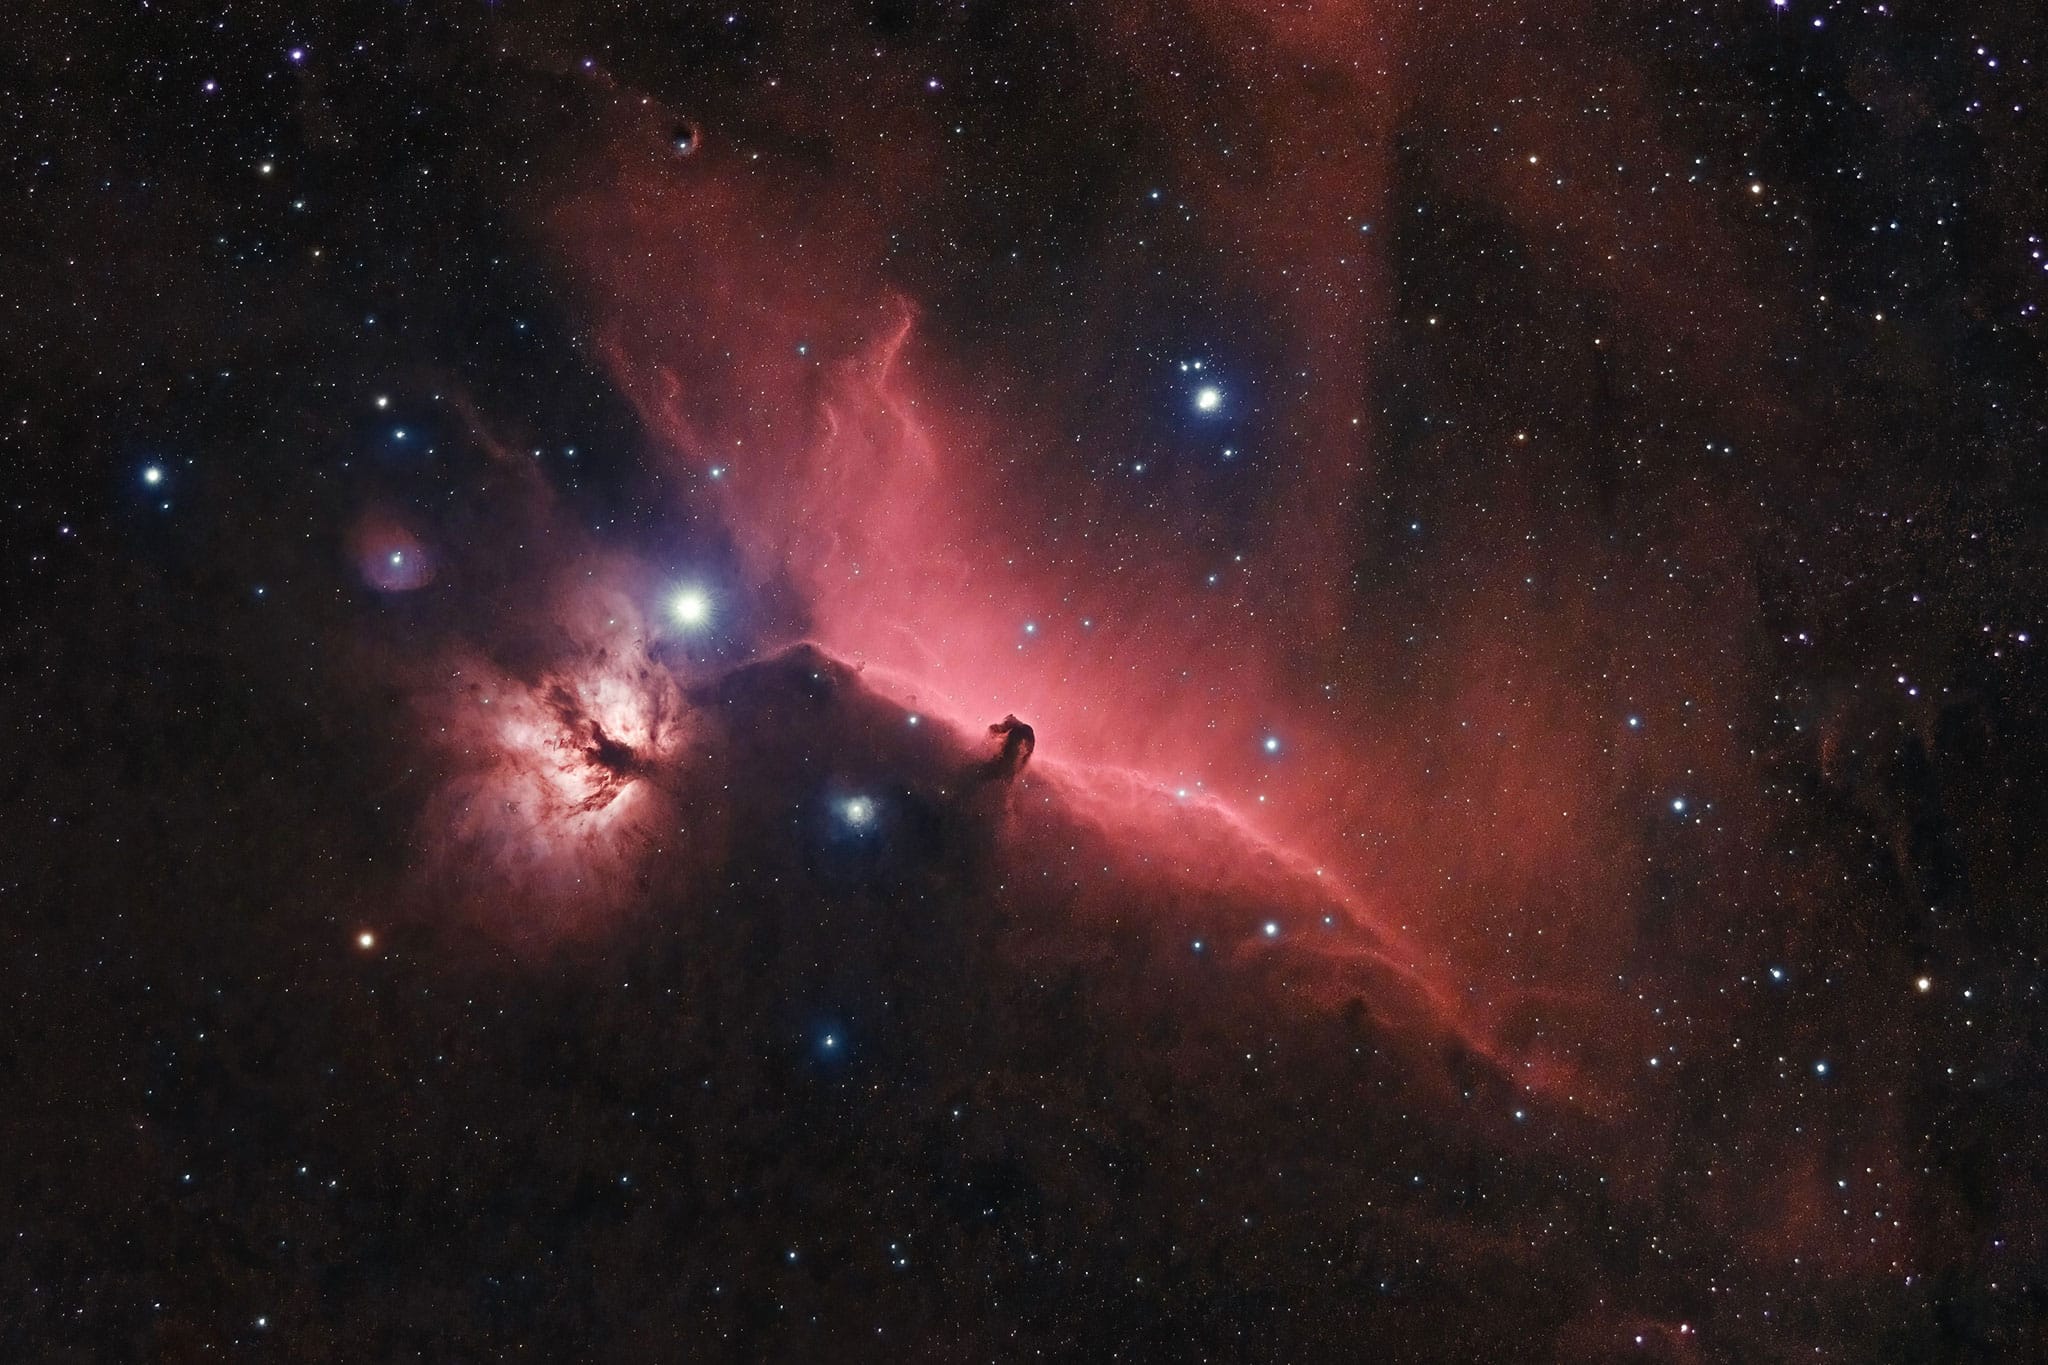
Organised astrophotography data structure with calibration frames prepared for PixInsight processing